> For the complete documentation index, see [llms.txt](https://documentation.swing2app.com/llms.txt). Markdown versions of documentation pages are available by appending `.md` to page URLs; this page is available as [Markdown](https://documentation.swing2app.com/store/playstore/google-developer.md).
# How to create a Google Developer Account
To register your app on the Play Store, you’ll need to create a Google developer account first.
**★What is a Google developer account?**
-This is a developer account that you need to create to release your app on the Play Store. You can create a Google Developer account with a registration fee.
-Account registration fee: $25 (one-time payment, approximately 30,000 in Korean won)
**\*Google Play Developer Console Site** [**https://play.google.com/apps/publish/**](https://play.google.com/apps/publish/)
\*Just because you have a regular Gmail account doesn’t mean that it’s a Google developer account!
The account that paid $25 registration fee in Google Console becomes a developer account!
**– If you have an existing Google Gmail account, you can link it to a developer.**
**– If you don’t, you can create a Gmail account and create a developer account.**
Please check the manual to create a developer account with an existing Google account (Gmail), and to register a developer account by creating a new Google account.
### **01. If you have a Google gmail (gmail) account**
If you have a Google Gmail (Gmail) account and use it as a developer account, you will be directed to the Google Play Console site.
If you don’t have an email, please refer to the following article!
**\*Go to Google Play Developer Console site** [**https://play.google.com/apps/publish/**](https://play.google.com/apps/publish/)
#### **1. Registration Fee Payment Page**
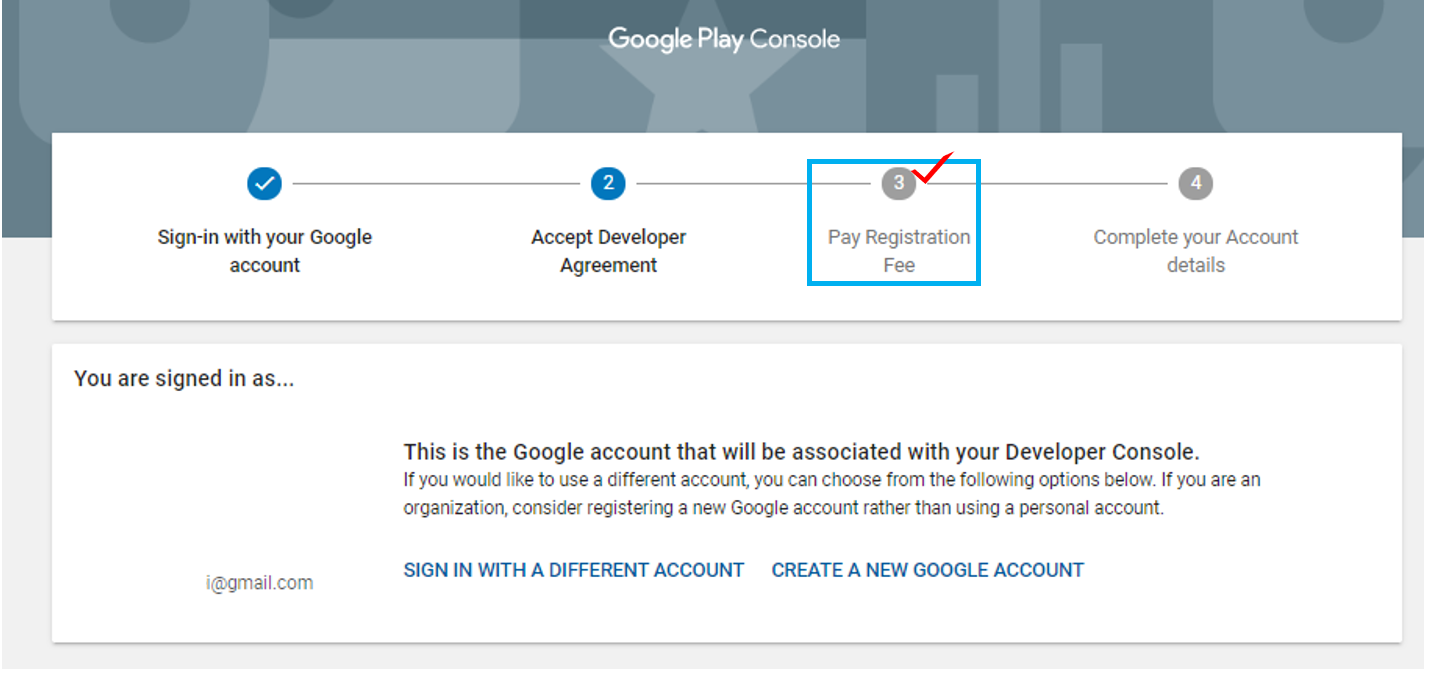
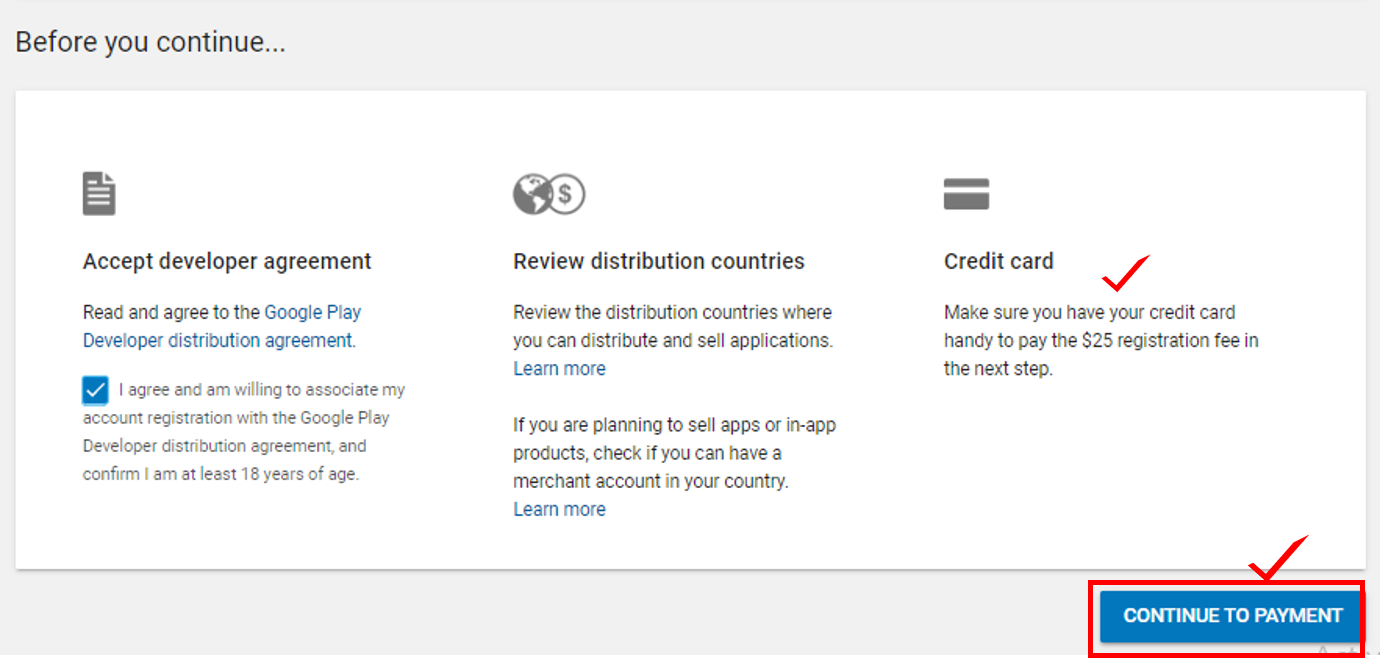
If you go to the Google Play Console site without making a payment, you will first be asked to pay a registration fee.
Once you’ve verified that your account is logged in, check your registration fee ($25).
Select the \[Go to Payment Page] button.
\*If you are logged in with your Gmail account, the screen will immediately open when you access the console page.
If you are not logged in, you will be prompted to log in first. When you log in, you will see the same screen as above.
#### **2. Card Registration and Purchase**
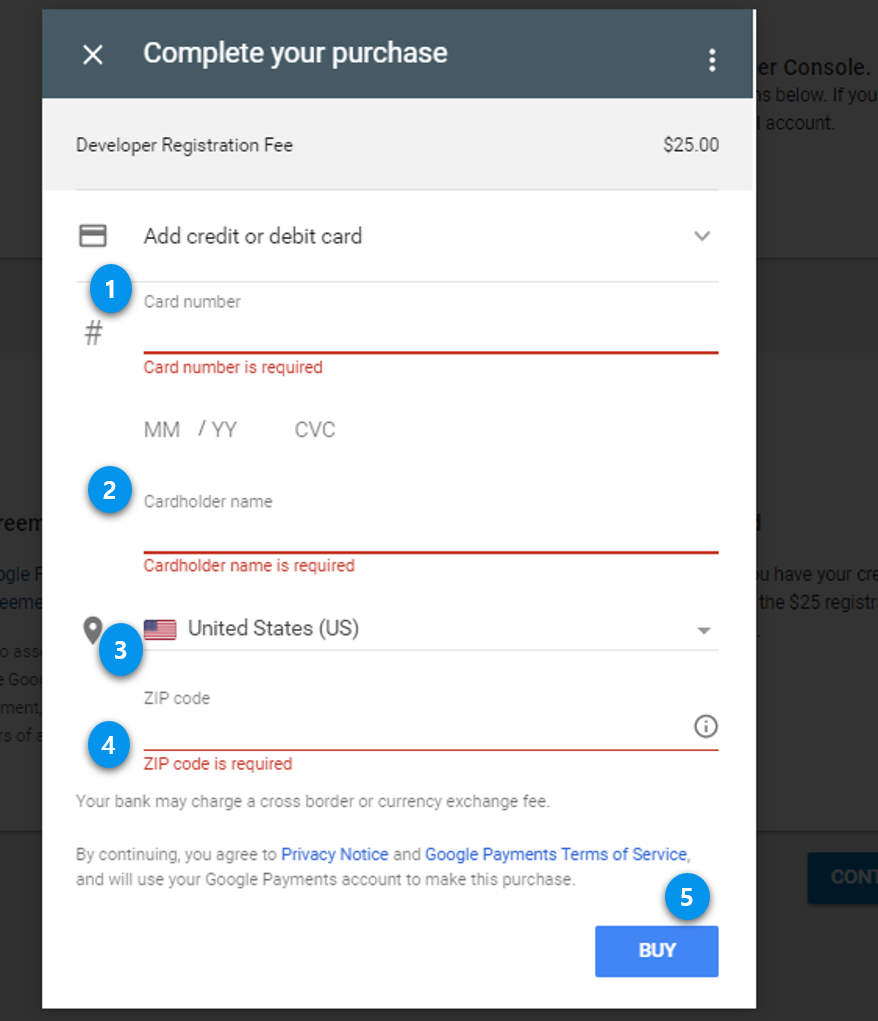
Enter the card information you want to pay with.\*The developer registration fee payment is only for card payments that can be made overseas.
1\) Enter the card number, enter the month/year/CVC number
2\) Card holder’s name\*It’s OK if the account holder and the card owner are different. Write the name registered on the actual payment card.
3\) Select Country
4\) Enter your zip code
5\) Select Buy Button
#### **3. Payment completed**

Your payment has been completed. Select Continue to register.
#### **4. Enter the developer profile**

Enter your Google Developer Profile.
You can edit your profile later. Please be aware that editing your developer name will take up to 7 days to review.
1\) Enter developer’s name
2\) Enter your email address
3\) Enter your phone number (with country code)
4\) Registration completed
**\*Asterisk mark** is mandatory, so you can enter only that item. You can also enter the rest of the website information if you have it.
-You may or may not check your email preferences. (optional)
#### **5. Google Developer account registration completed**
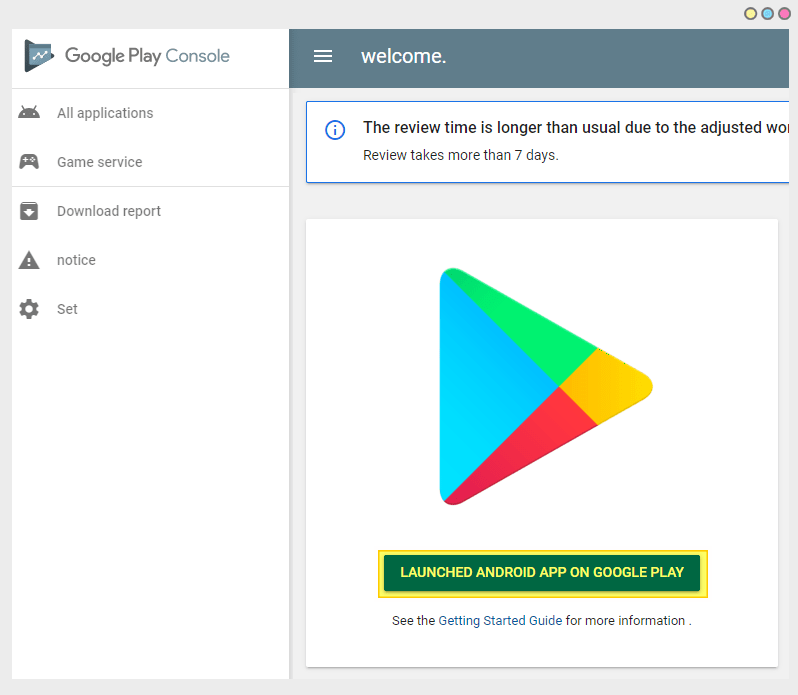
When account registration is complete, a console page opens where you can register your app.
\[Release Android App on Google Play] You can select the blue button to launch the app to the Play Store.
**For more information on how to launch the Play Store app, please check the Swing2App – Play Store App Registration Release Manual!**
**▶** [**View how to launch the Play Store App Registration**](/store/playstore/update-playstore.md)
### **02. If you need to create a new Google account**
**If you don’t have a Google Gmail account, create an account first at the Google account registration site and then go to the Google Play Console site.**
**\*Create a Gmail account:** [**http://accounts.google.com/**](http://accounts.google.com/)
**1. Create an account**
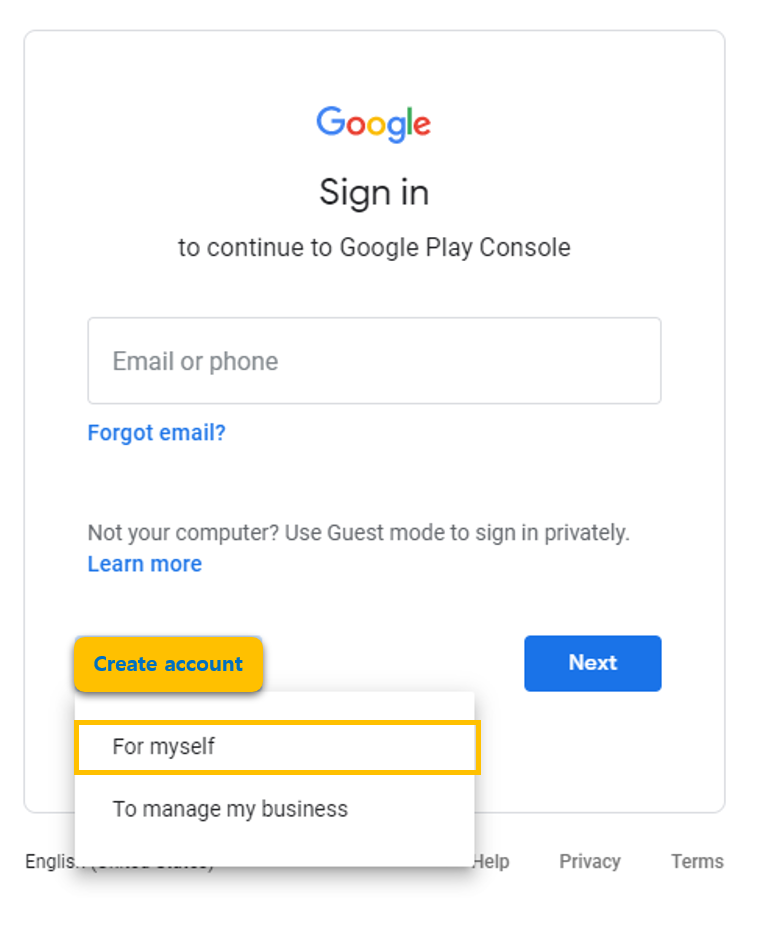
**Select Create Account – Select My Account – Next**
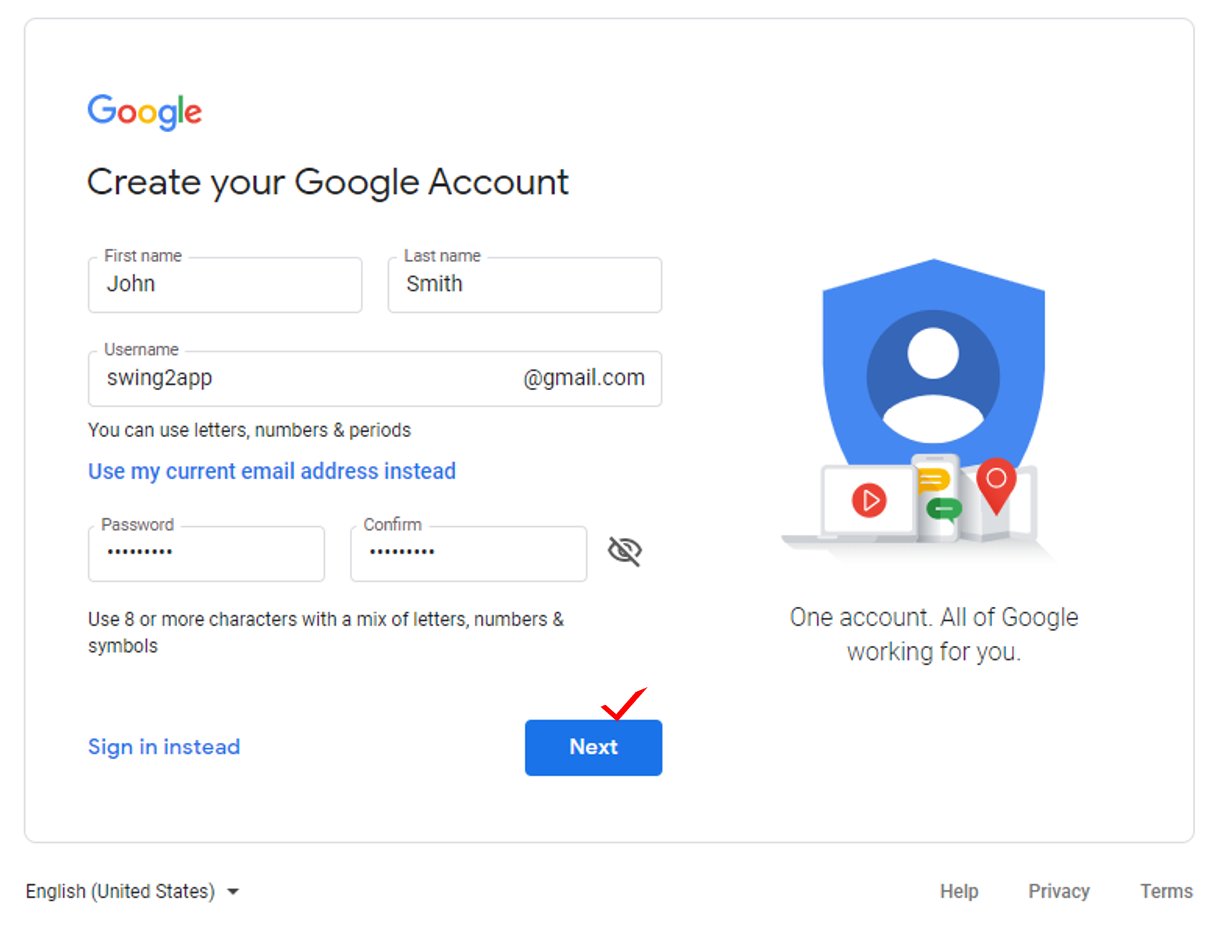
1\) Enter first and last name
2\) Enter your email address
3\) Enter your password
4\) Next choice
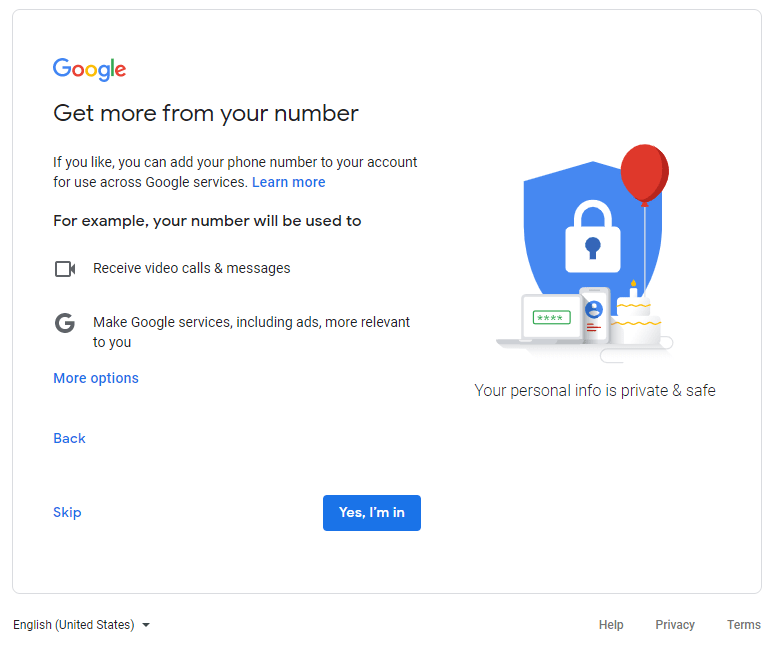
**2. Phone number verification**
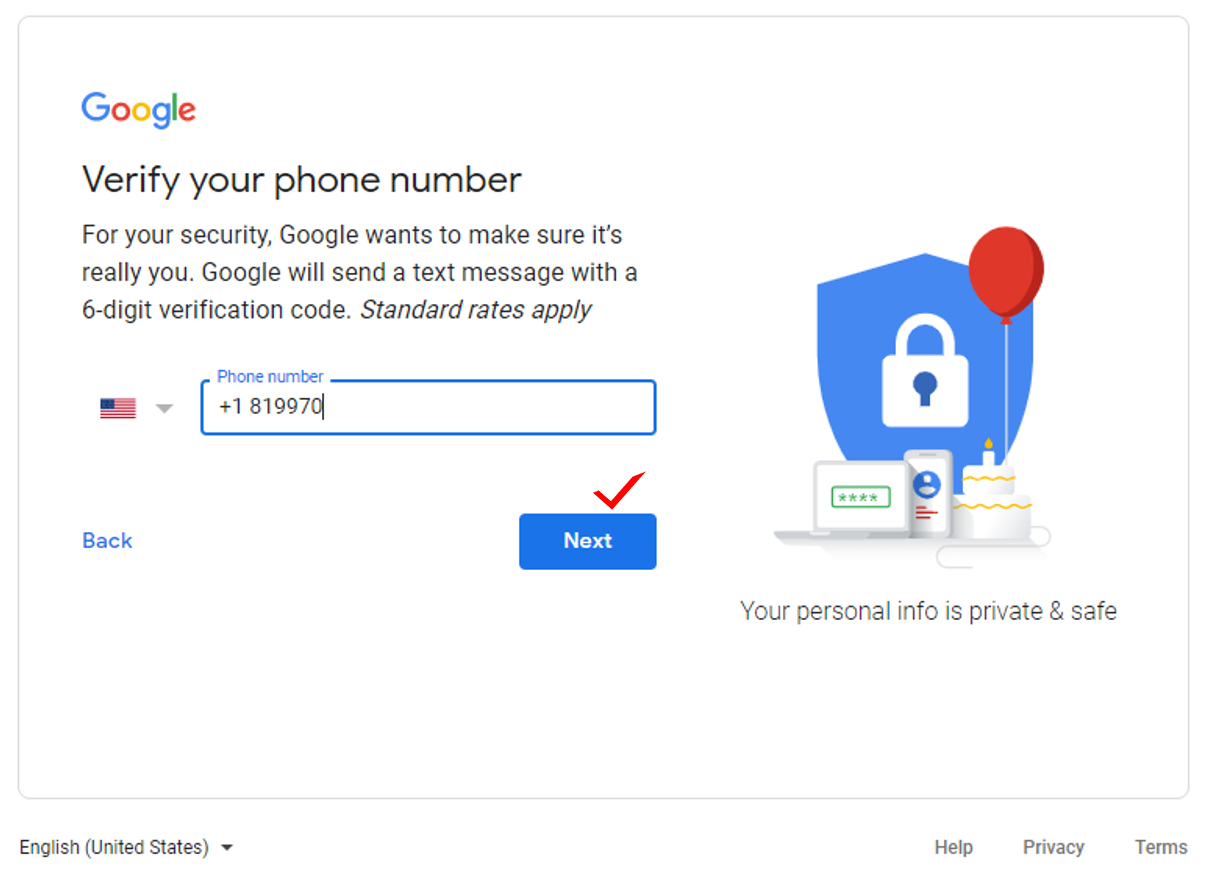
Enter the phone number to receive a verification number to create your Google account.
Enter the verification code and select \[OK].
**3. Personal information entry**
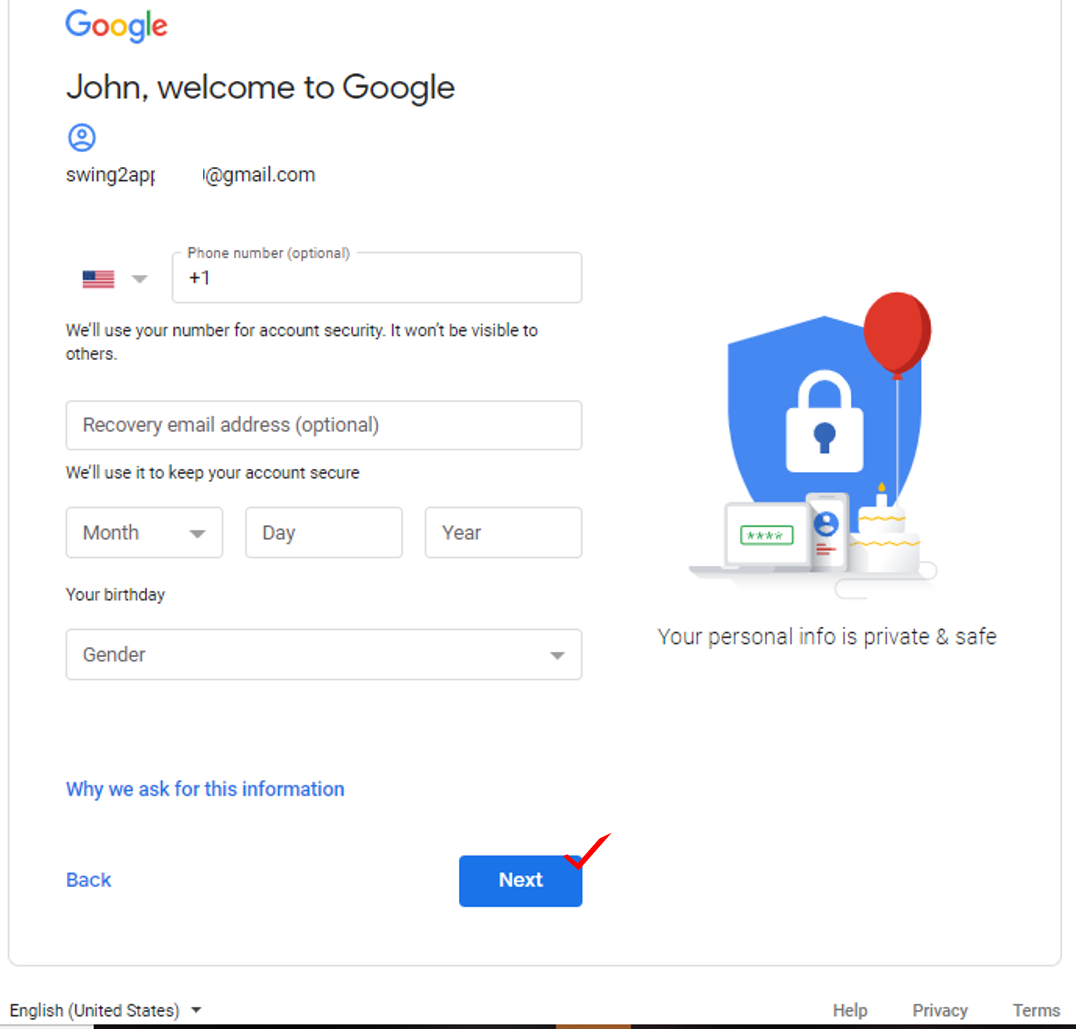
1\) Enter your phone number
2\) Enter recovery email address (In addition to the email address, enter the email address needed to recover the email)
3\) Enter your date of birth
4\) Select Gender
5\) Select the \[Next] button
**4. Complete your Google account creation**
**5. Go to the Google Play Console site and pay the registration fee**
Once your account has been created, you’ll be taken to the [**Google Play console site**](https://play.google.com/apps/publish/), and the rest is the same as above.
**1)**

**2)**

**3)**

**4)**

**5)**

**6)**

When account registration is complete, a console page opens where you can register your app.
\[Release Android App on Google Play] You can select the blue button to launch the app to the Play Store.
**For more information on how to launch the Play Store app, please check the Swing2App – Play Store App Registration Release Manual!**
**▶** [**View how to launch the Play Store App Registration**](/store/playstore/update-playstore.md)
**Registering a Google Developer account allows you to release your app to the Play Store.**
**You can publish your app to any developer account you created.**
-When you want to release a Play Store app created with swing2app, only paid apps and free commercial versions can be released.
-The free version of the app is not commercially available, so please purchase a paid app ticket if you wish to launch it to the Play Store.