> For the complete documentation index, see [llms.txt](https://documentation.swing2app.com/llms.txt). Markdown versions of documentation pages are available by appending `.md` to page URLs; this page is available as [Markdown](https://documentation.swing2app.com/manual/appmanage/board/listscreen-creationscreen.md).
# How to use the list screen and creation screen
When you apply a bulletin board, you choose the style that will load the board.
At this time – Select List screen and Create screen.
**The most basic style is “List Screen”, but depending on the user’s purpose of using the app, you can choose “Create Screen”.**
**Bulletin board: Where do I use the list screen and creation screen?**
The bulletin board is available on the App Production – STEP3 page.
Page Design - UI KIT Selection - \[Board] Selection - From the Board screen
‘You can check whether to select 'List Screen' or 'Create Screen'.
### **1. Bulletin board: list screen**
1\)App creation screen - STEP3 Select page
2\)Menu selection
\*If you're not ready to create a menu, create a new one. (Select the + shape button to add menu)
3\)Please enter a menu name.
4\)Select \[UI KIT] from the page design.
5\)Select \[Bulletin Board].
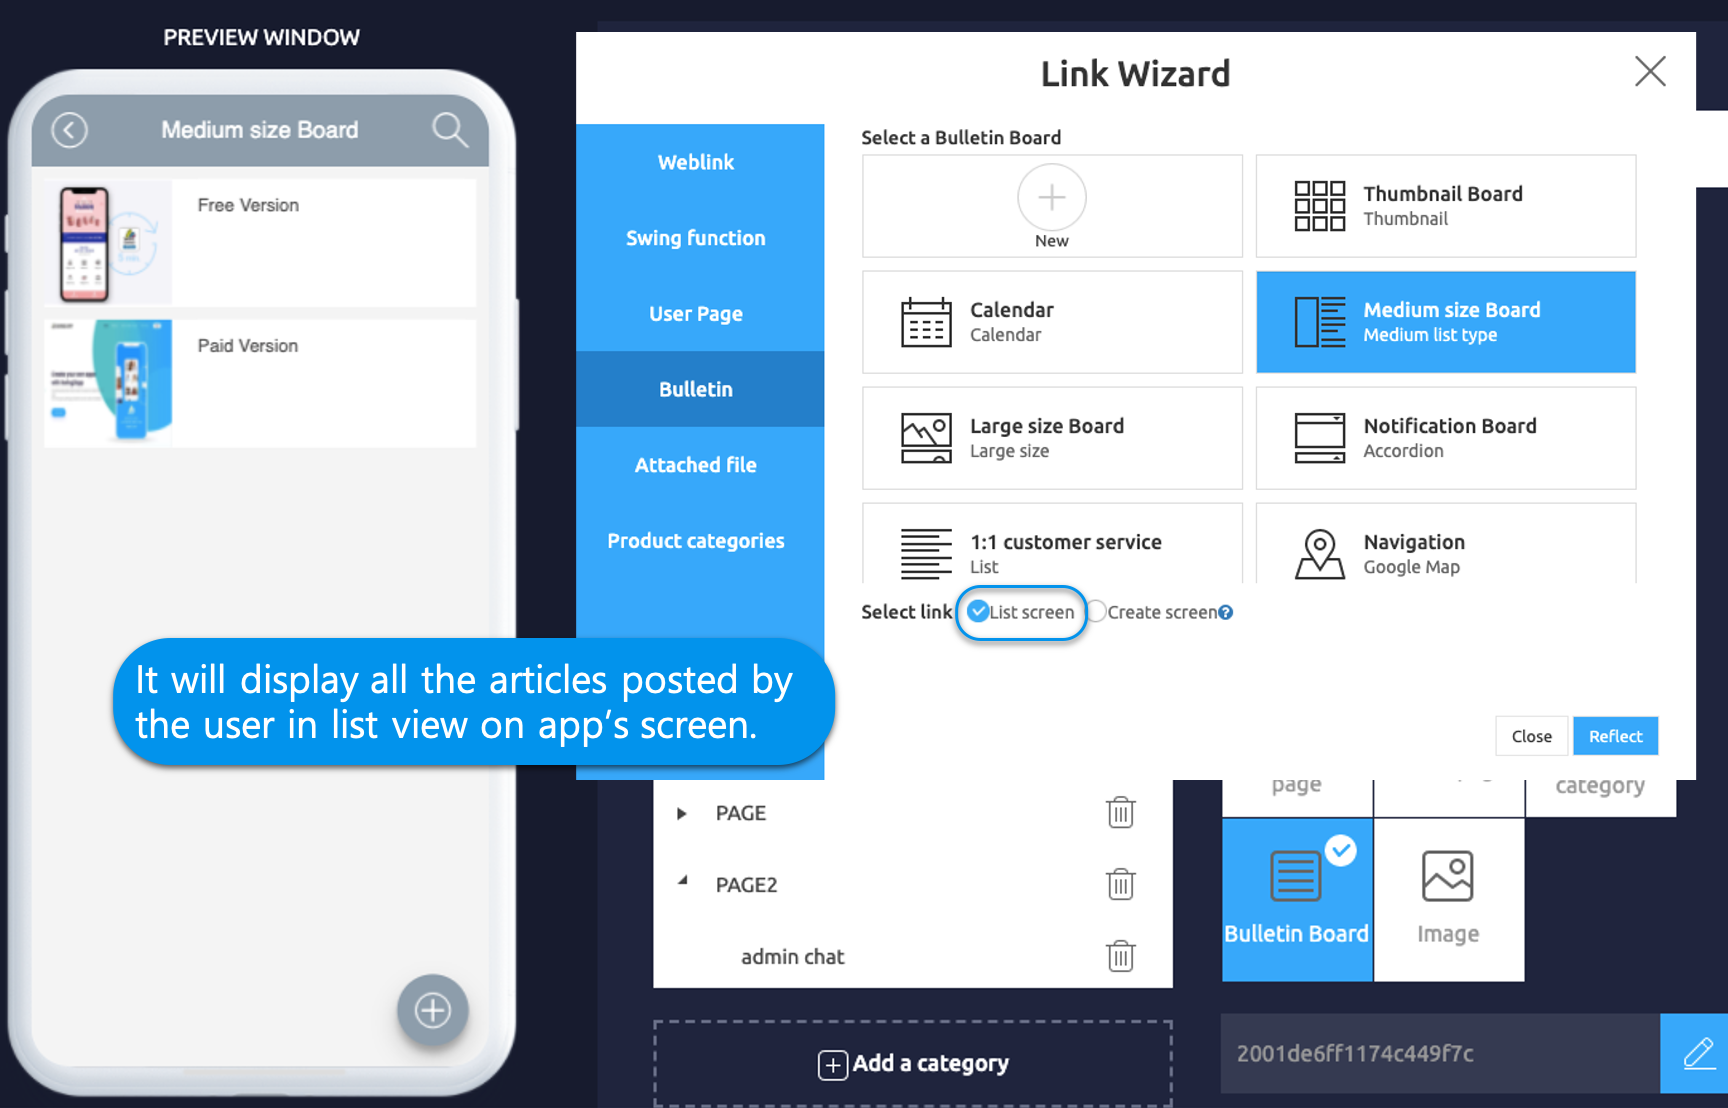
6\)Select \[List Screen].
7\)Check the board to register, and then select the \[Apply] button. (Hover over the mouse cursor on the page to open the Apply button)
8\)Press the \[Save] button at the top of the screen to apply it to the app.
**App launch screen**
**The list screen is the style in which the board list is displayed \*This is the most basic board screen.**
If you select 'List screen', you will see a list of applied boards.
If you select a post from the list, you can go to the post details page to check the content of the post.
★Bulletin board loading is provided by default setting as 'List Screen'. Therefore, unless it is a special case, you can use it as a list screen view without modifying it.
### **2. Bulletin board: Create screen**
1\)App creation screen - Select STEP3 page
2\)Select Menu.
\*If you're not ready to create a menu, create a new one. (Select the + shape button to add menu)
3\)Please enter a menu name.
4\)Select \[UI KIT] in the page design
5\)Please select \[Bulletin Board].
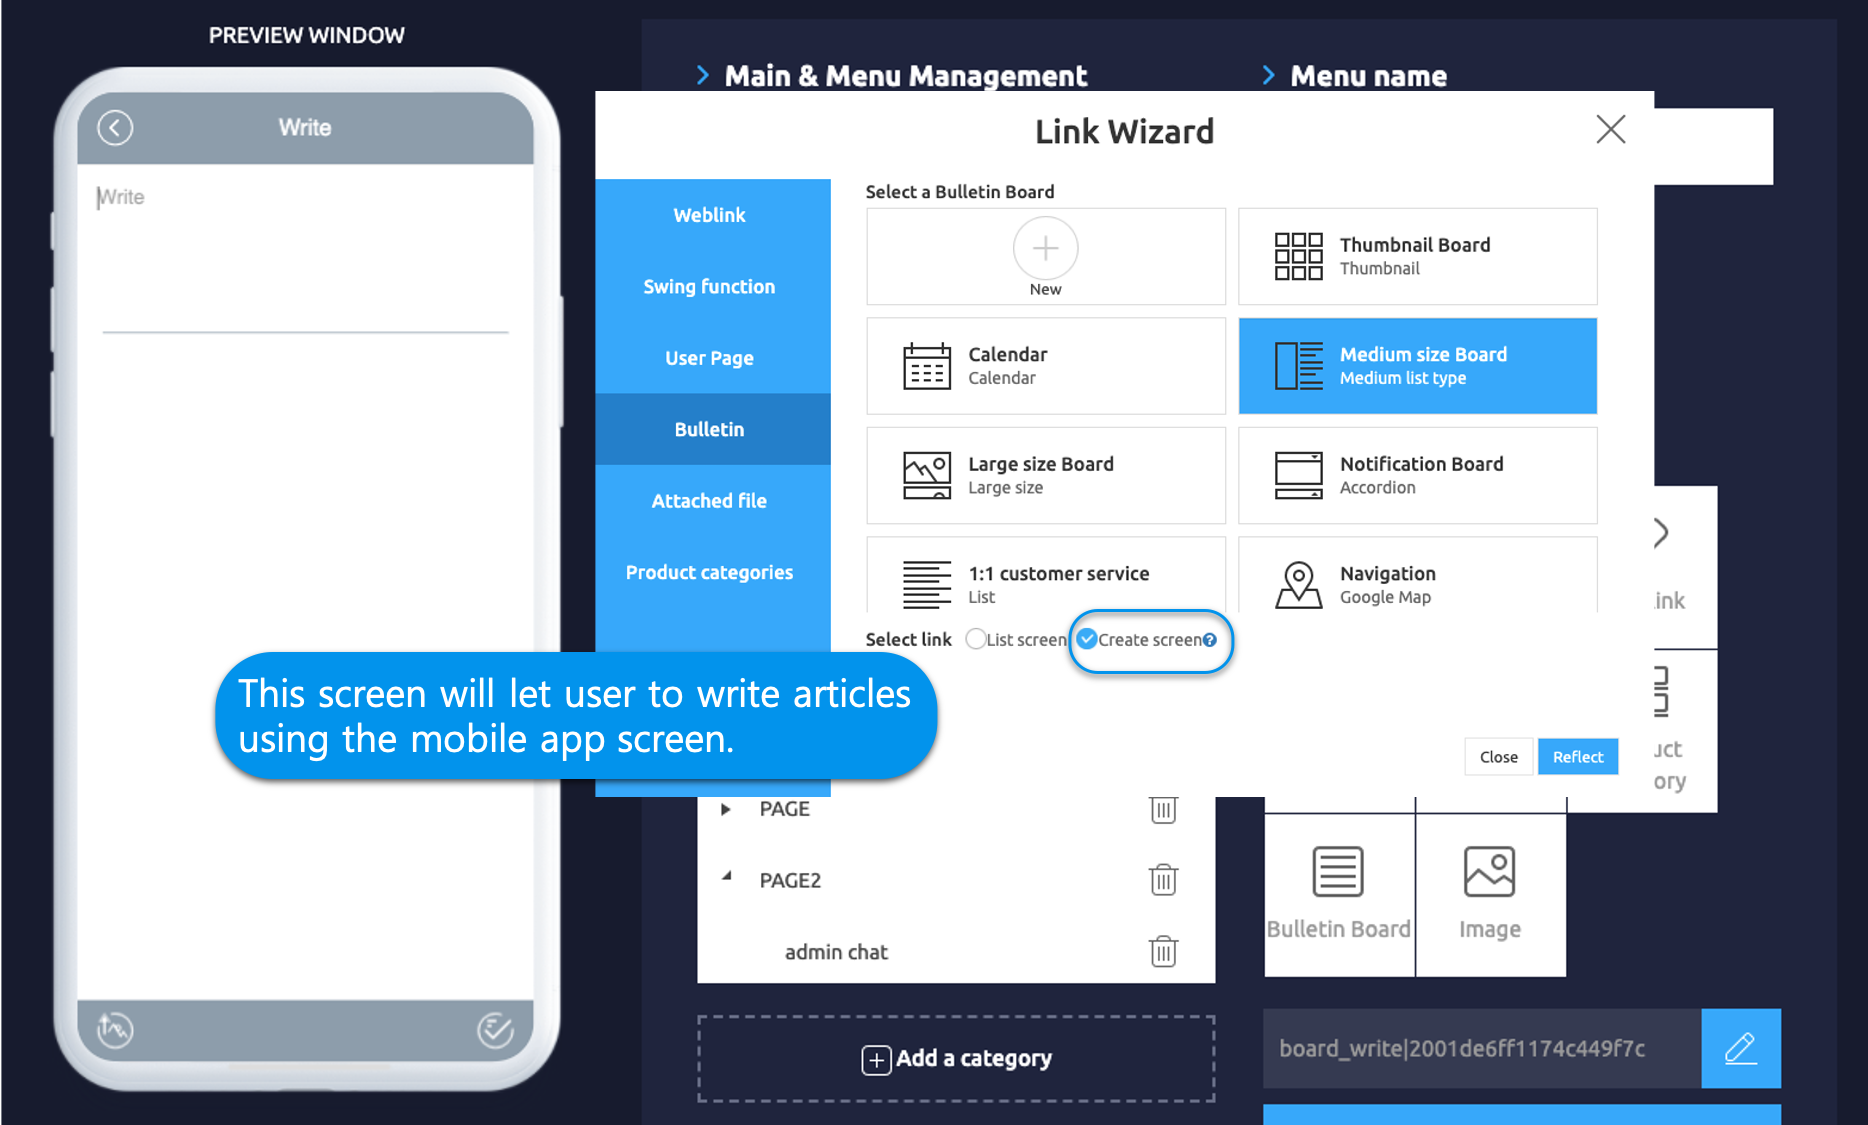
6\)Select \[Create Screen].
7\)Check the board to register, and then select the \[Apply] button.
(Hover over the mouse cursor on the page to open the Apply button)
8\)Press the \[Save] button at the top of the screen to apply it to the app.
**App launch screen**
If you select 'Compose screen', the screen (page) where you can write a post will open first.
The writing page of the board is visible, and **\*can be used for special operational purposes.**
\*Users can use it when they need to write right away, but users can't see the list on the board.
* In other words, you can only create posts, and the list of created posts can only be checked by the administrator on the app operation page.
###
{% tabs %}
{% tab title="App Production V2 Version Manual" %}
When using the V2 version of the app production, please check the manual.
#### **1. Bulletin board: list screen**
**The style of the bulletin board list \*This is the most basic board screen.**
If you select ‘List Screen’ in the bulletin board, the list of the board will be shown.\
When you select a post from the list, you can go to the post detail view page and check the contents of the post.\
As in the preview screen on the right, the list screen will appear to match the bulletin board UI style.
**★Bulletin board loading is provided by default setting as a ‘list screen’.**\ **Therefore, you should use it as a list screen without editing it unless it is a special case.**
#### **2. Bulletin board: writing screen**
**Style of the bulletin board writing page.** **\*It can be used for special operation purposes.**
If you select **Create Screen** in the bulletin board, the page to write a post will be opened first.\ **\*Users can use this when they need to write a post, but they cannot see the list of the bulletin board.**\ **\*In other words, only posts can be written, and the list of written posts can only be checked by the administrator on the Manager page.**
**\[Purpose of use]**
Filling screen settings can be used to \* fill out the content required by the user, such as questionnaire, consent, application, job application.\
It is used to receive only the information that is needed by the users of the app, not in the form of community or interactive boards.\
Administrators can check the article written Swing2App **Manager** page in **Posts.**\\
\ **\[Example: When used as a creation screen]**
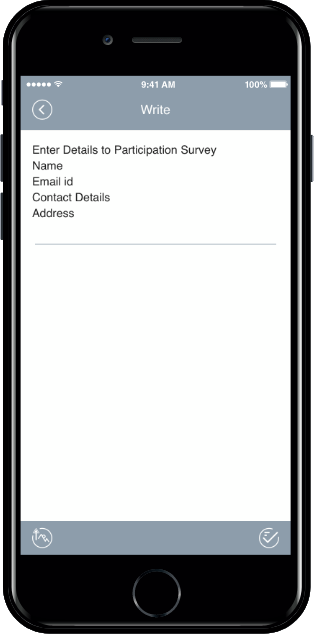 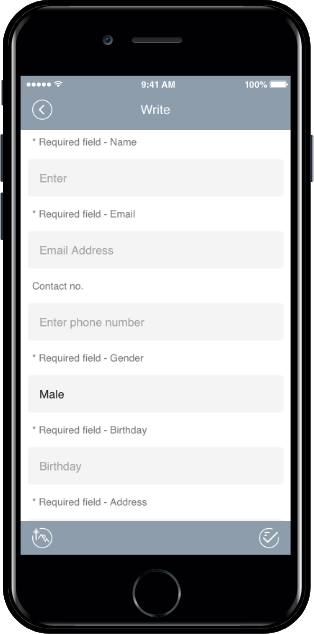
As you can see above, you can see the example of selecting a bulletin board creation screen.\
\&#xNAN;**+You can use it for the member’s self-introduction bulletin board, application form, etc.**\
\&#xNAN;**+When you select the bulletin board, you’ll immediately open the writing page, so you can write directly to users.**\
\&#xNAN;**+Administrators can view the articles written by members on the web-app operation page.**
Please select the loading style of the bulletin board according to the purpose of the app operation.
Bulletin boards loading style can also be freely edited, so please set and edit them to the desired style, such as list screens or creation screens.
{% endtab %}
{% endtabs %}
###
###