> For the complete documentation index, see [llms.txt](https://documentation.swing2app.com/llms.txt). Markdown versions of documentation pages are available by appending `.md` to page URLs; this page is available as [Markdown](https://documentation.swing2app.com/manual/appmanage/pushmember/pushapp-push.md).
# Send Push from Push Version App
**Send Push from Push Version App**
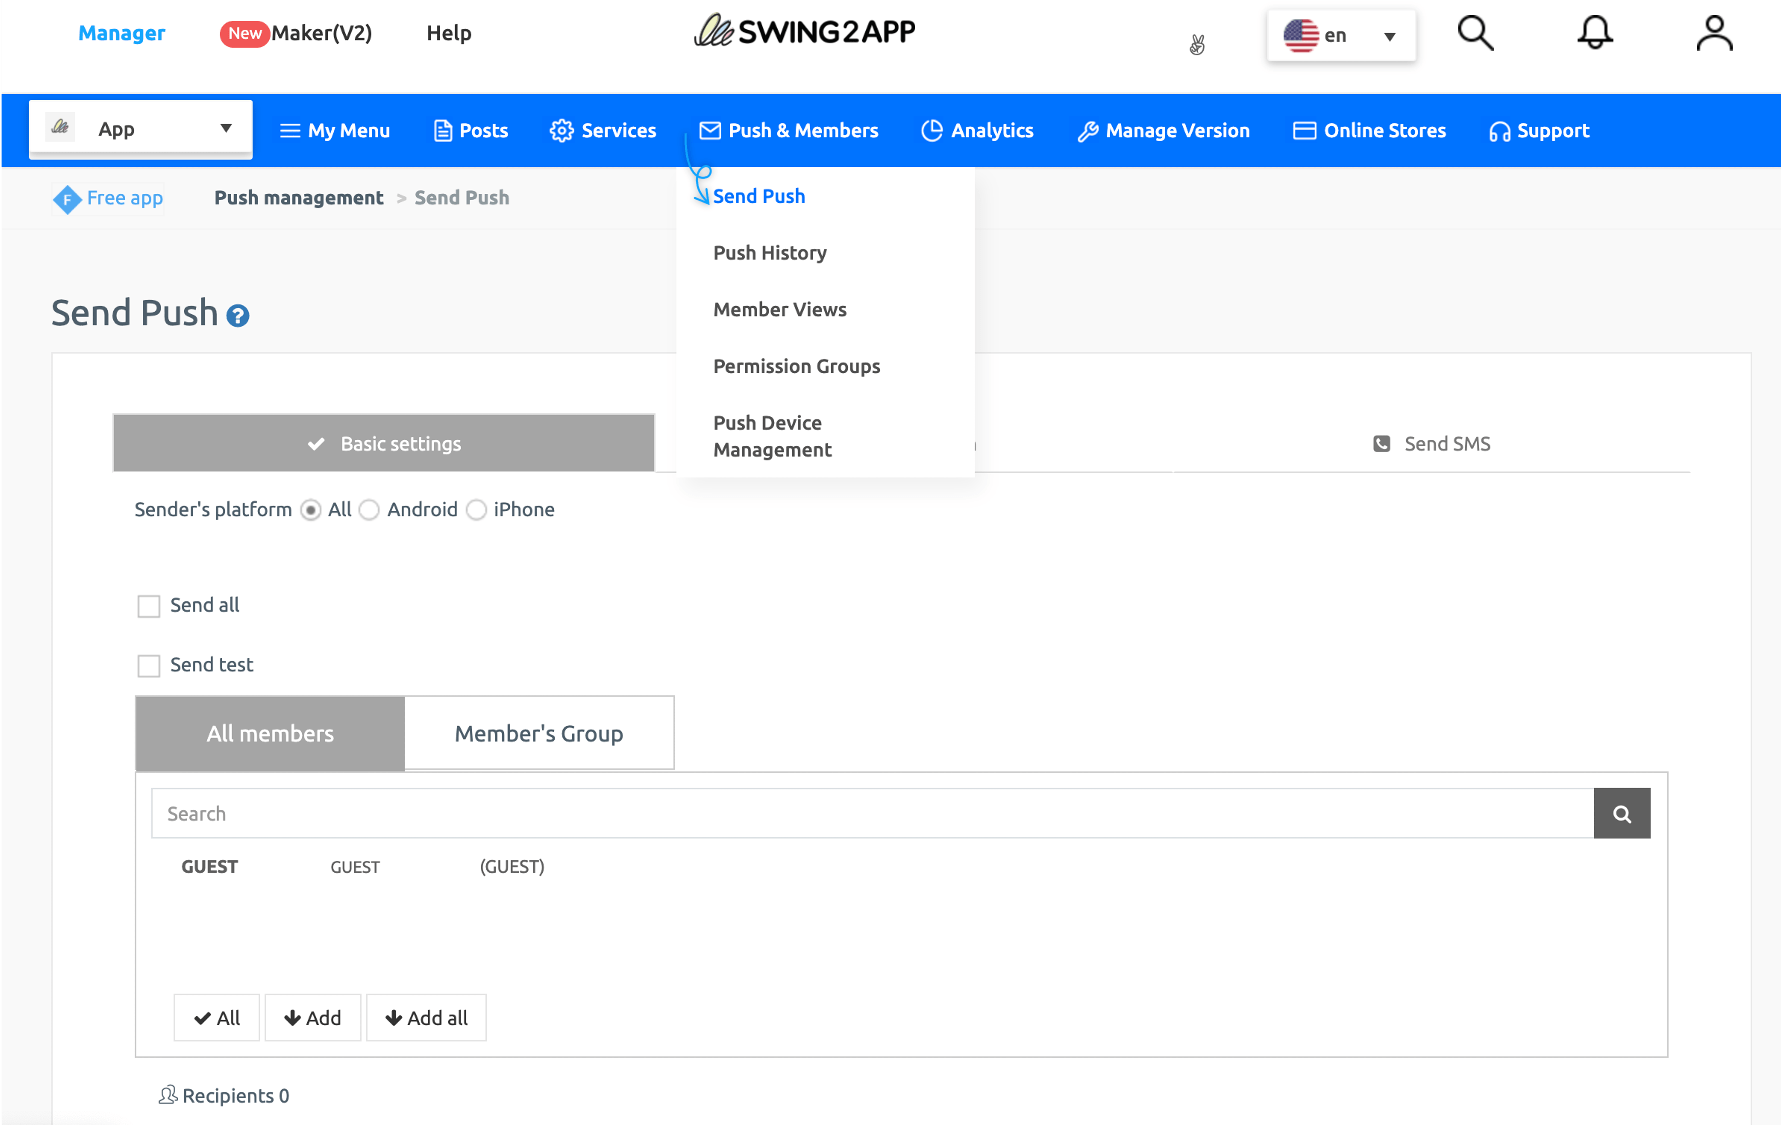
1. Go to **Manager.**
2. Select **Push & Members.**
3. Click **Send Push.**
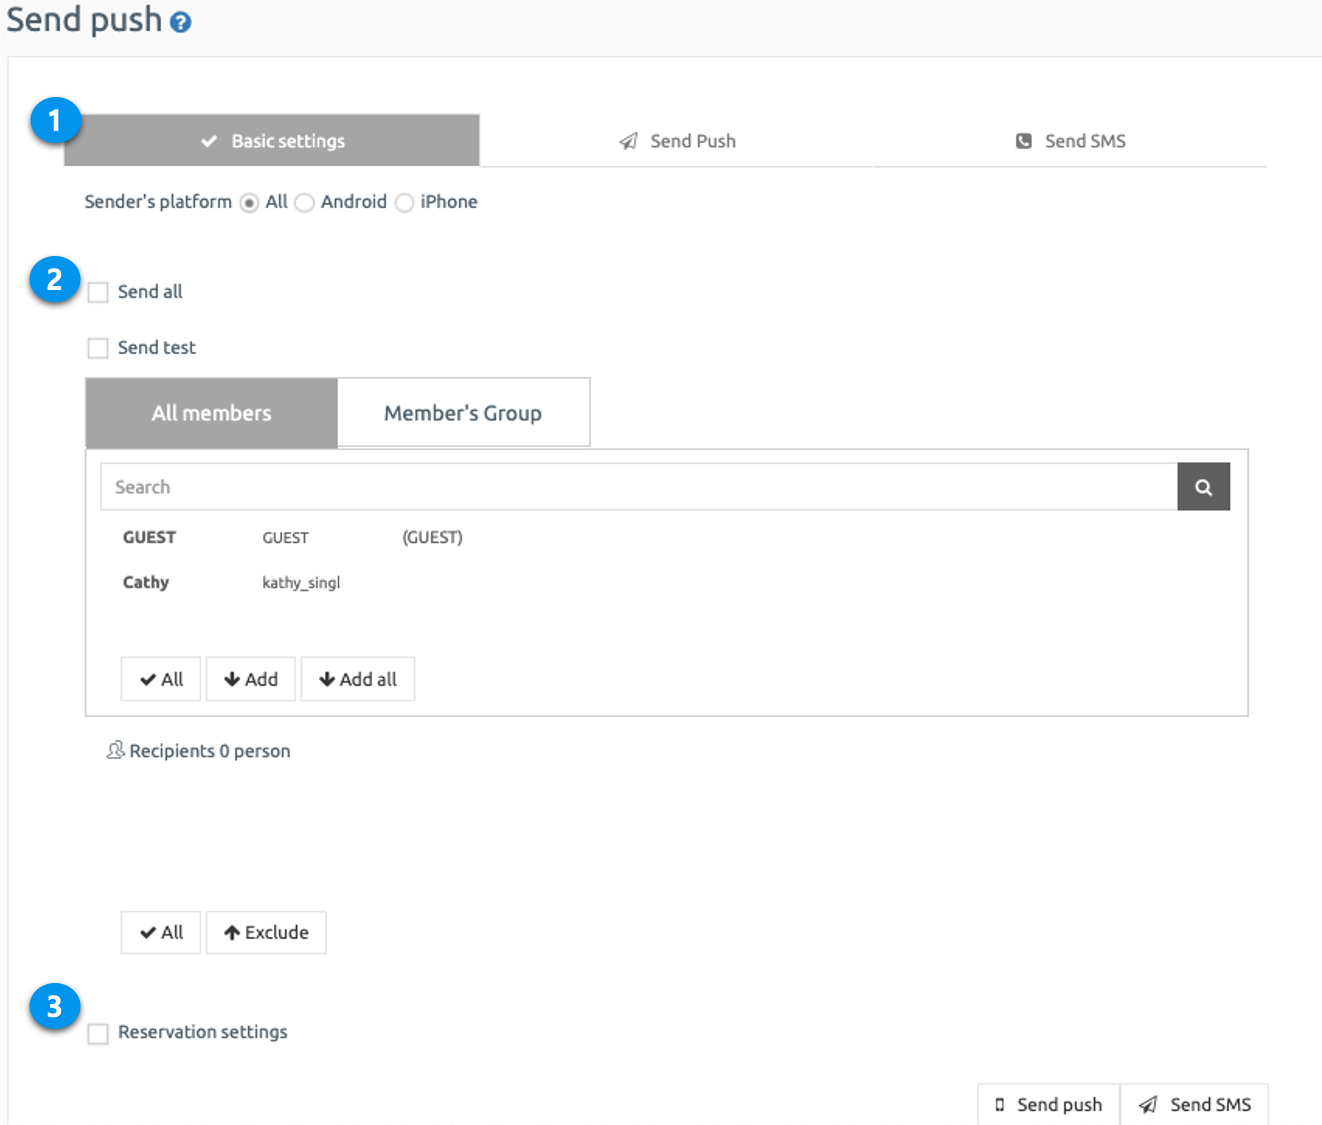
### **STEP.1 Basic Settings**
The first step in sending push is the basic settings.
Push Version App – Sending push is not available to members and can only be done in full delivery.
Push-only app is created by applying the website (homepage) link to the app, so there are no members who subscribe to the app.
As a result, the app cannot recognize members, so members cannot be selected, and only full shipments are possible.
They are all marked as ‘guests’.
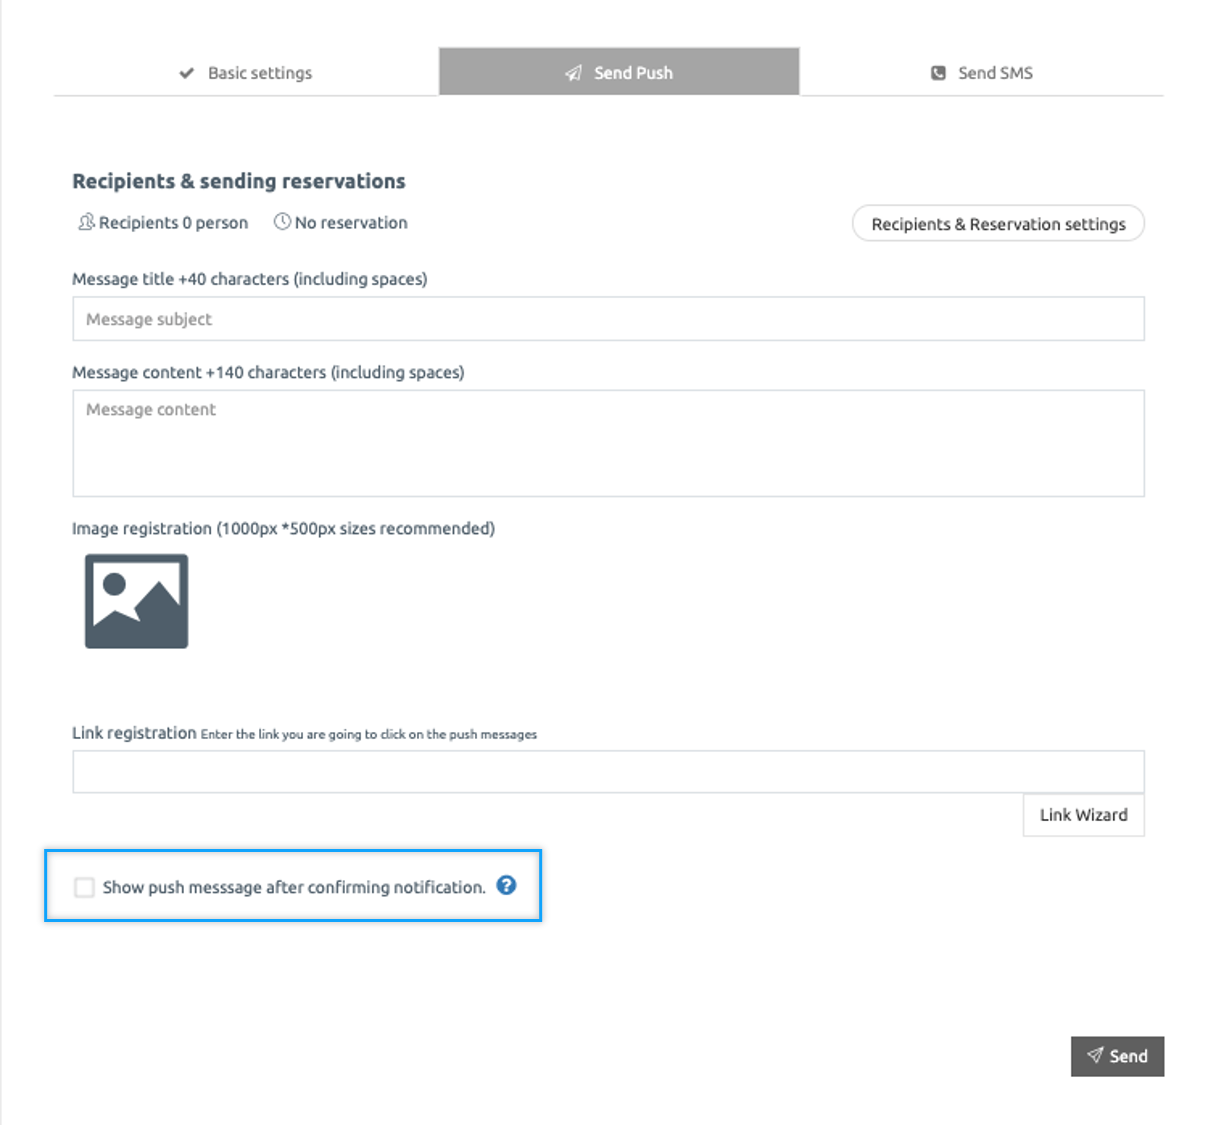
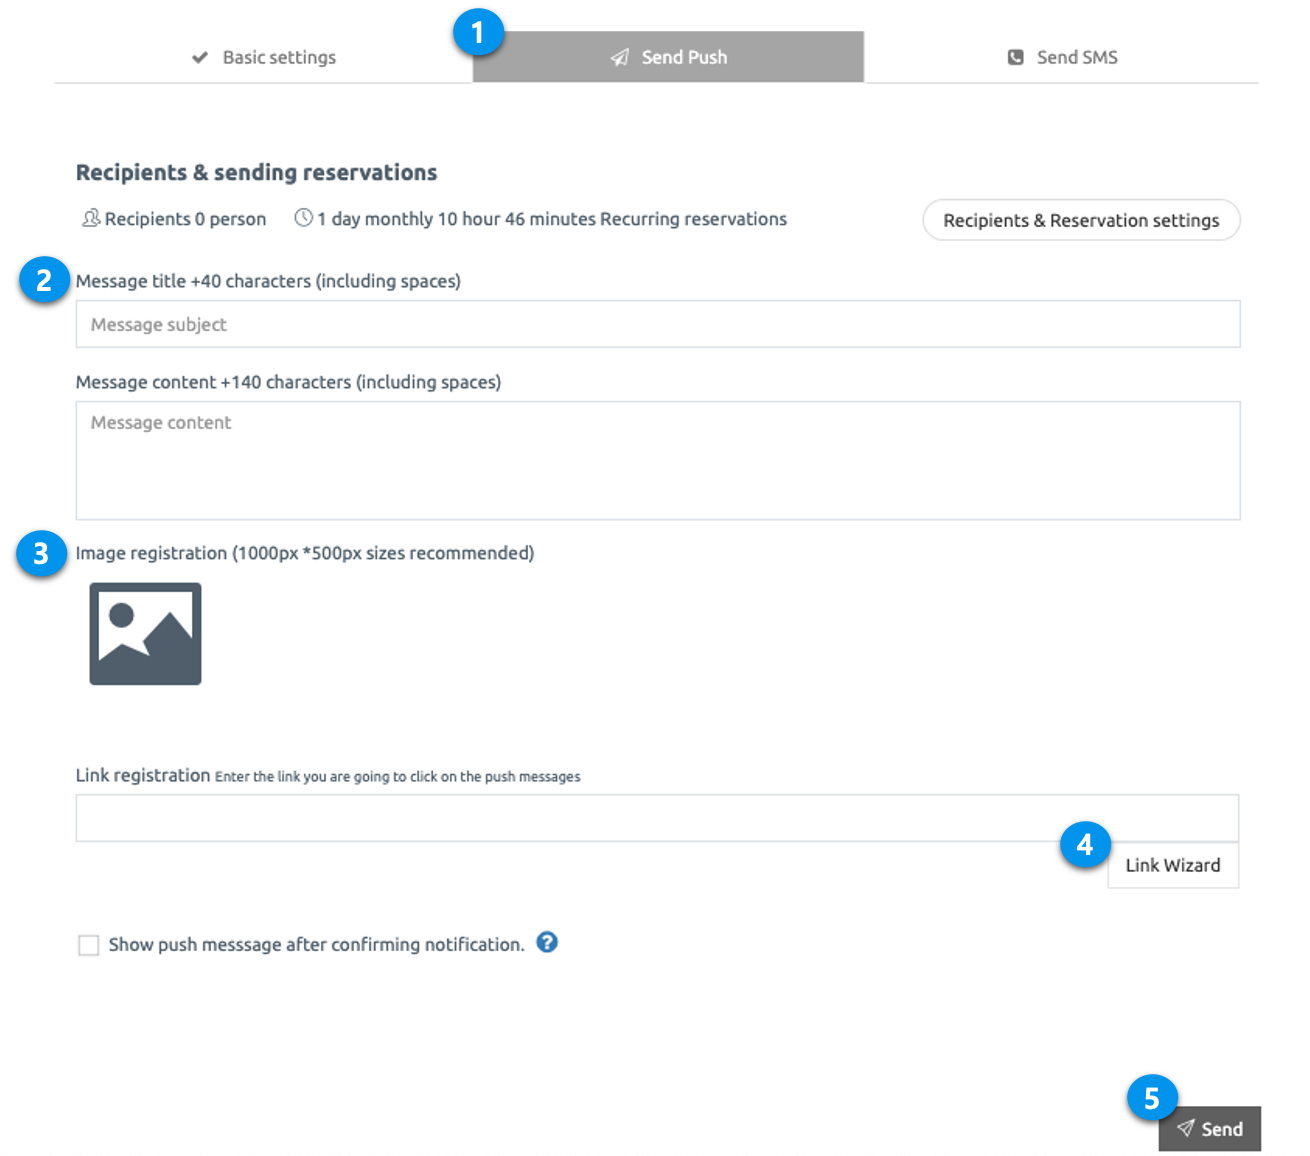
### **STEP.2 Send Push**
1. Push message title: Please enter the title. \*Required
2. Message content: Please do not enter long content. If there are long characters, it will be cut off. \*Required
3. Image registration: Please register an image to be shown when sending a push. \*You do not need to include the image because it is not required.\
-Image should be 1000px wide and 500px height\
-Due to the nature of the device, the push image is not available on the Android Phone.
4. Link registration: You can enter a link to go to when you click a push message.\
Push Version App \[Link Wizard] button is not available. \*Please check the details below.
5. Send Push: Select the Send button to complete the shipment!
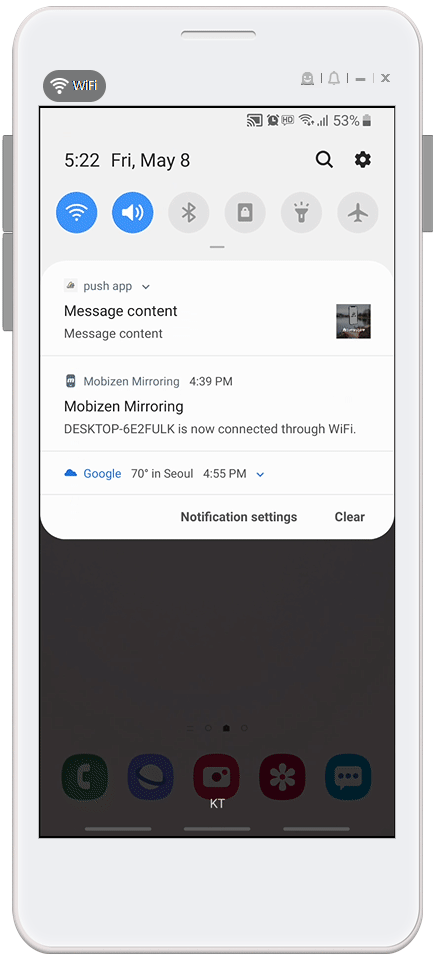
### **STEP.3 Send Push Screen**
**STEP.4 Push Version App – Send Push**
**1) Link wizards are not available.**
Link wizards are not available because there are no menus linked to the app
Only the web link address (URL) can be sent in the \[Link Registration] field.
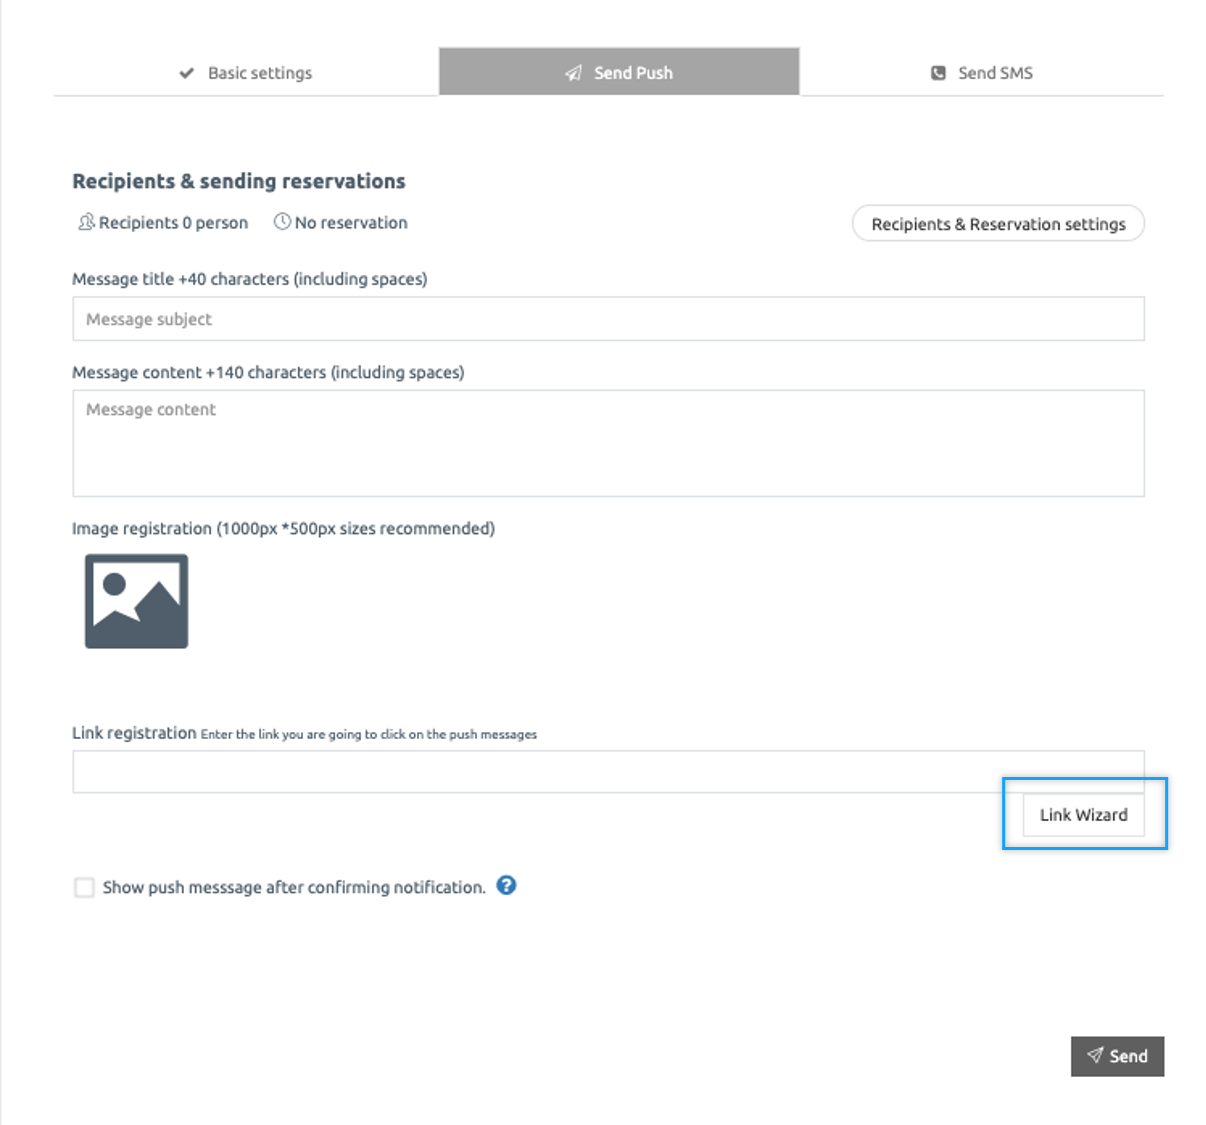
**2) The “Show push messages after notification confirmation” option is not available.**
This feature is also only available in apps built with regular prototypes.
Not available in apps created with push versions.
If you are using a push-only app, please check the contents of the push when sending it!