> For the complete documentation index, see [llms.txt](https://documentation.swing2app.com/llms.txt). Markdown versions of documentation pages are available by appending `.md` to page URLs; this page is available as [Markdown](https://documentation.swing2app.com/manual/maual/pagemenu/appintroductionpage.md).
# Home screen: Applying App Introduction Page

**App Home Screen Introduction Page**
We will show you how to apply the app introduction page on the app home screen.
★The home screen can be selected and applied to a variety of menus.
The app introduction is the initial home screen menu setting when creating a swing2app.
Since the menu is provided as a sample, users are encouraged to make the home screen with different menus according to the app style.
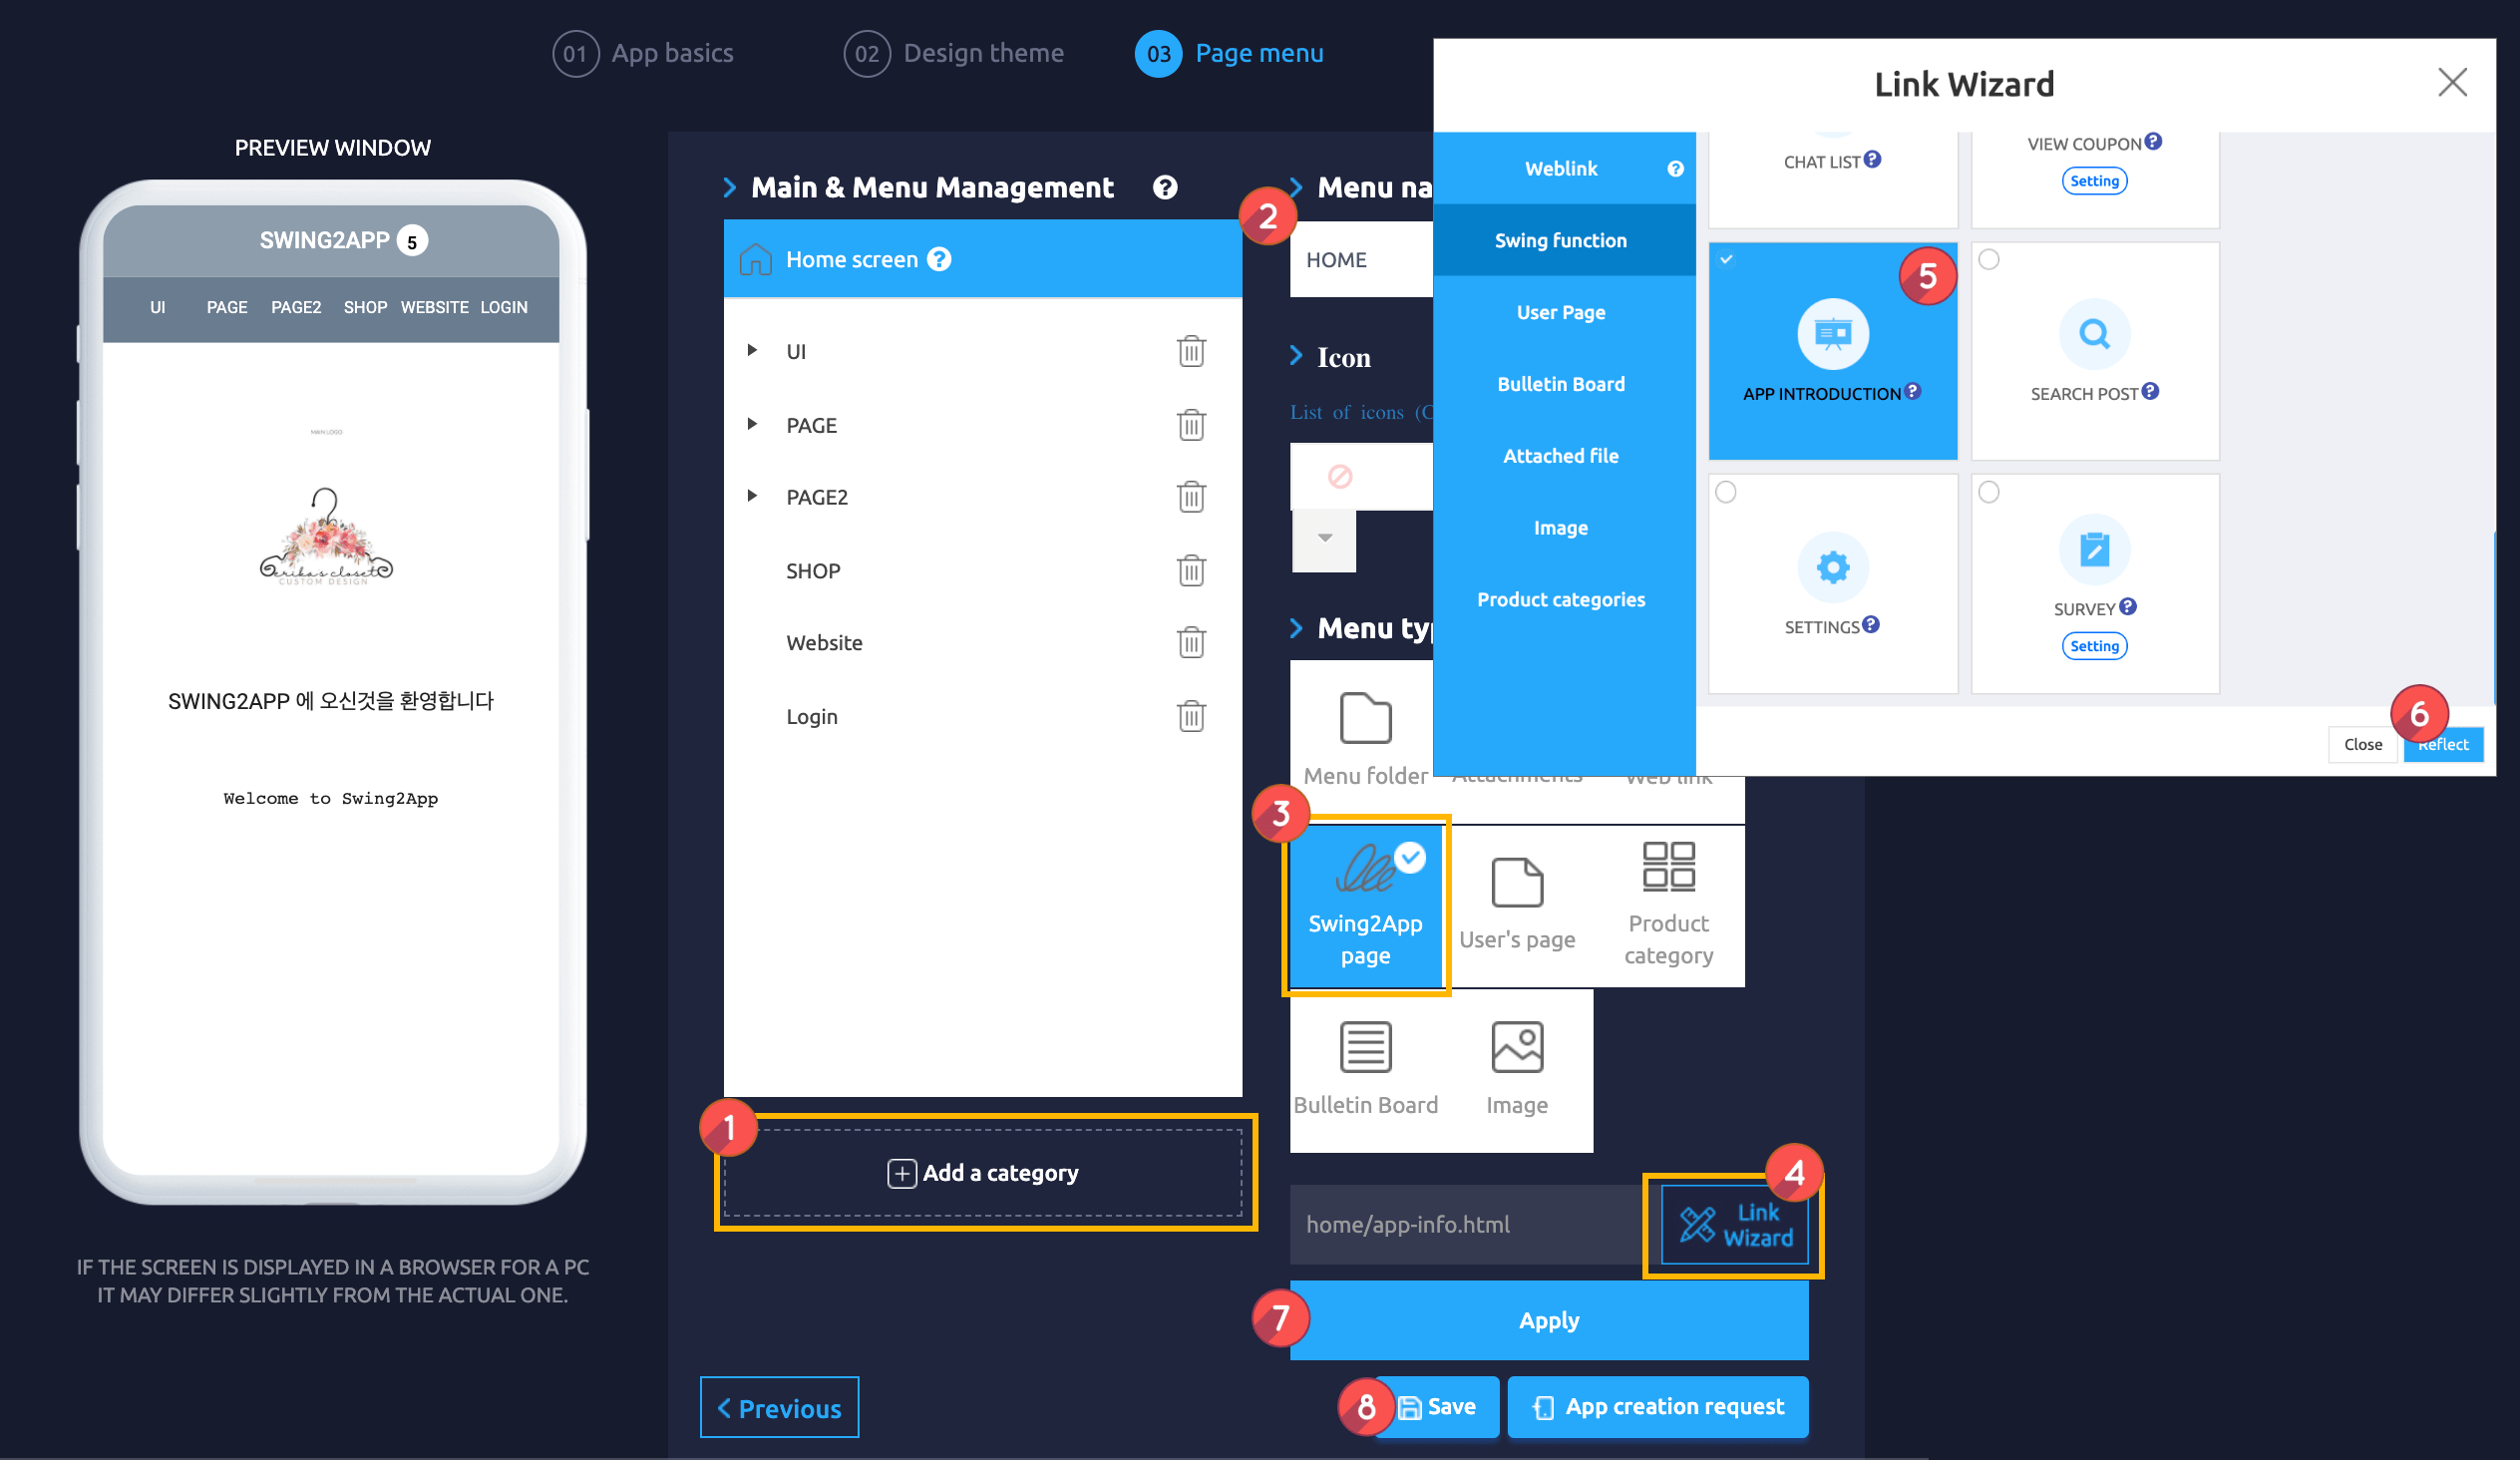
### **1. Applying app introduction to the home screen**
1. Click the **Home Screen** with a mouse and a menu setting page will appear on the right side.
2. You can change the menu name at the top of the home screen (unless you change the name, it will be displayed as the app name.)
3. Select the **Swing2App Page** menu in the **menu type.**
4. Click the **Link Wizard.**
5. When the Link wizard window appears, select the **App Introduction** to be applied to the home screen.
6. Click on **Reflect.**
7. Press the **Apply** button.
8. Click on **Save.**
**★ App introduction screen is applied as the initial default setting value when you first create an app with swing2app, so you don’t have to apply it separately.**
However, if you change the home screen back to the app introduction screen using a different menu, you can apply it using the above method.
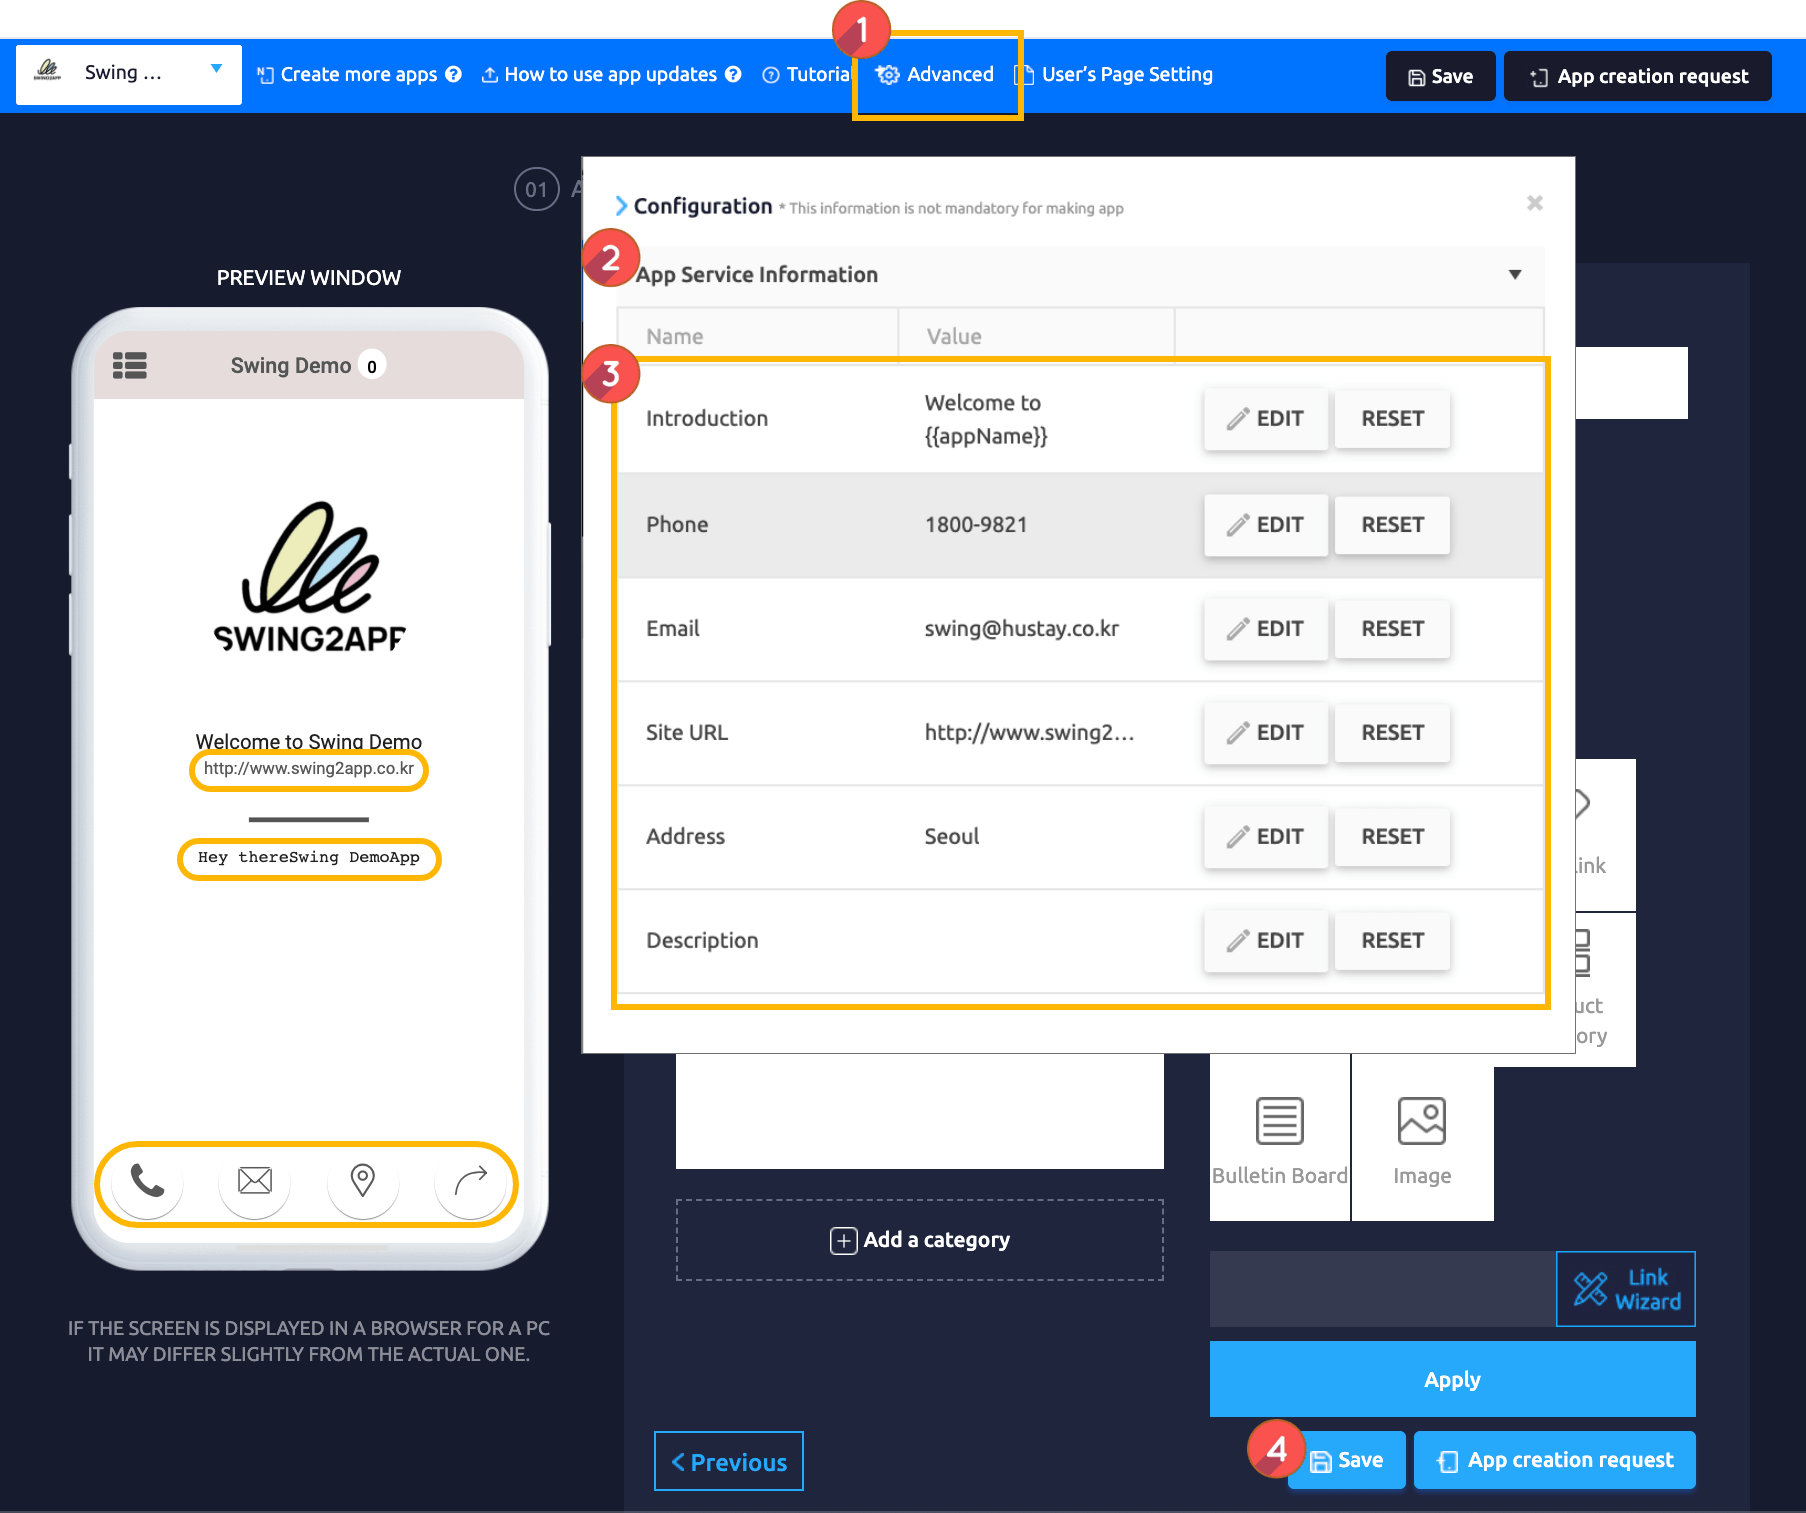
### **2. Edit the app introduction**
**You can edit the app description, site address, and pages that link to the bottom banner that appears in the app introduction.**
Go to the **Maker(V2)**
1. Advanced Settings.
2. From App Service Information.
3. You can edit the Phone number, email, site address, address, app description by pressing the EDIT button.
4. Press the Save button and it will be reflected in the app.
Changes can be checked through the virtual machine.
The first time you create an app, you need to make an app to reflect it. When you edit the app again, it is automatically reflected in the app when you save it.
### **3. App Launch Screen**
**If you select the icon banner at the bottom of the app introduction screen through the app launch screen, we will see how the page works.**
**1) Make a call**
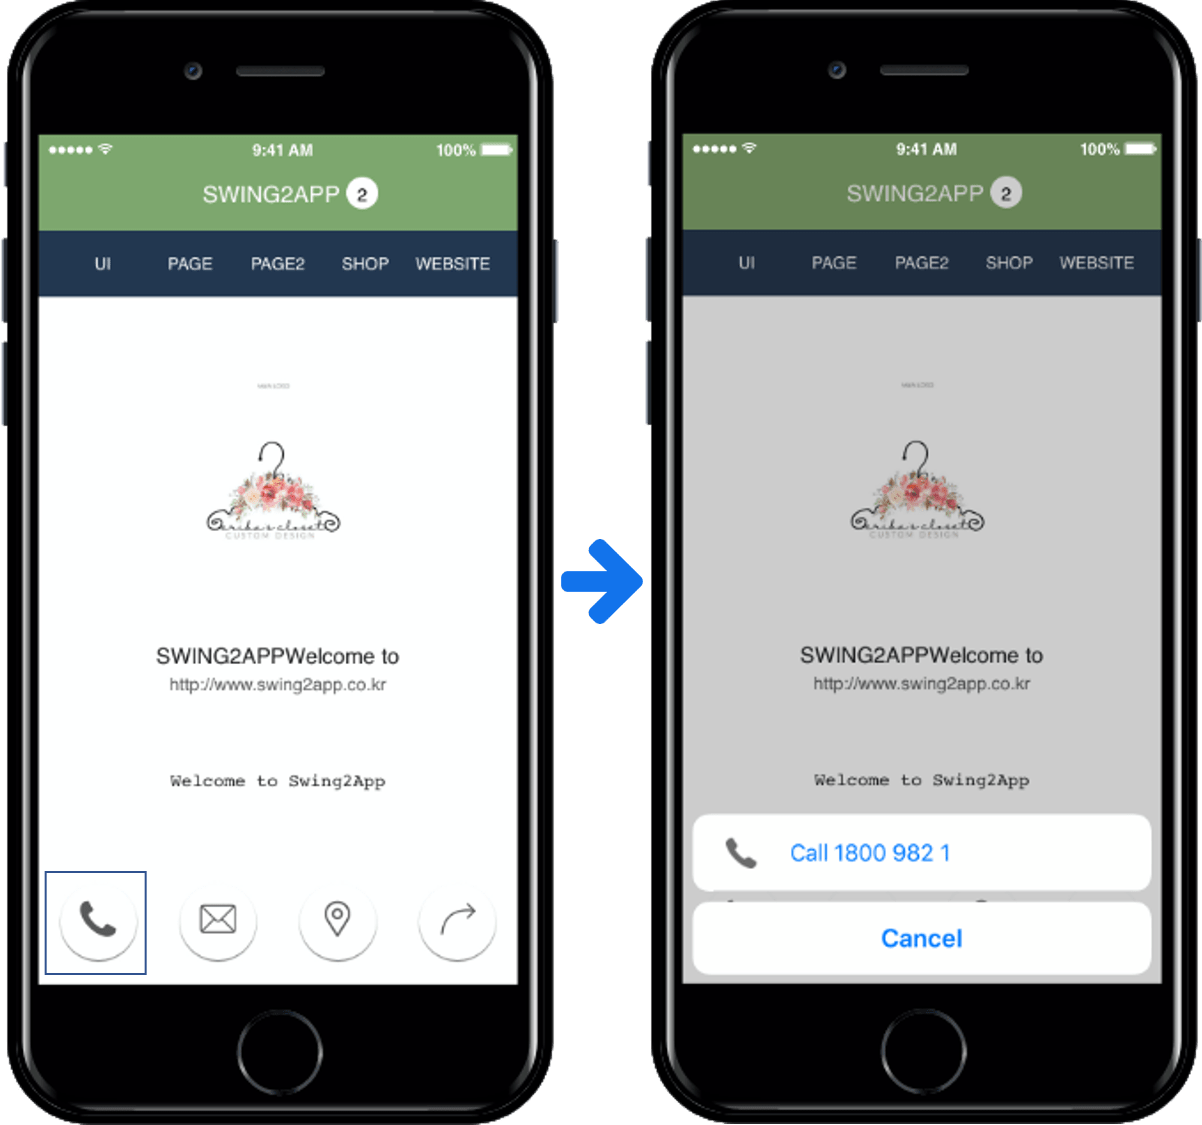
**If you select the phone button, you will be redirected to the phone number page.**
**2) Send Email**
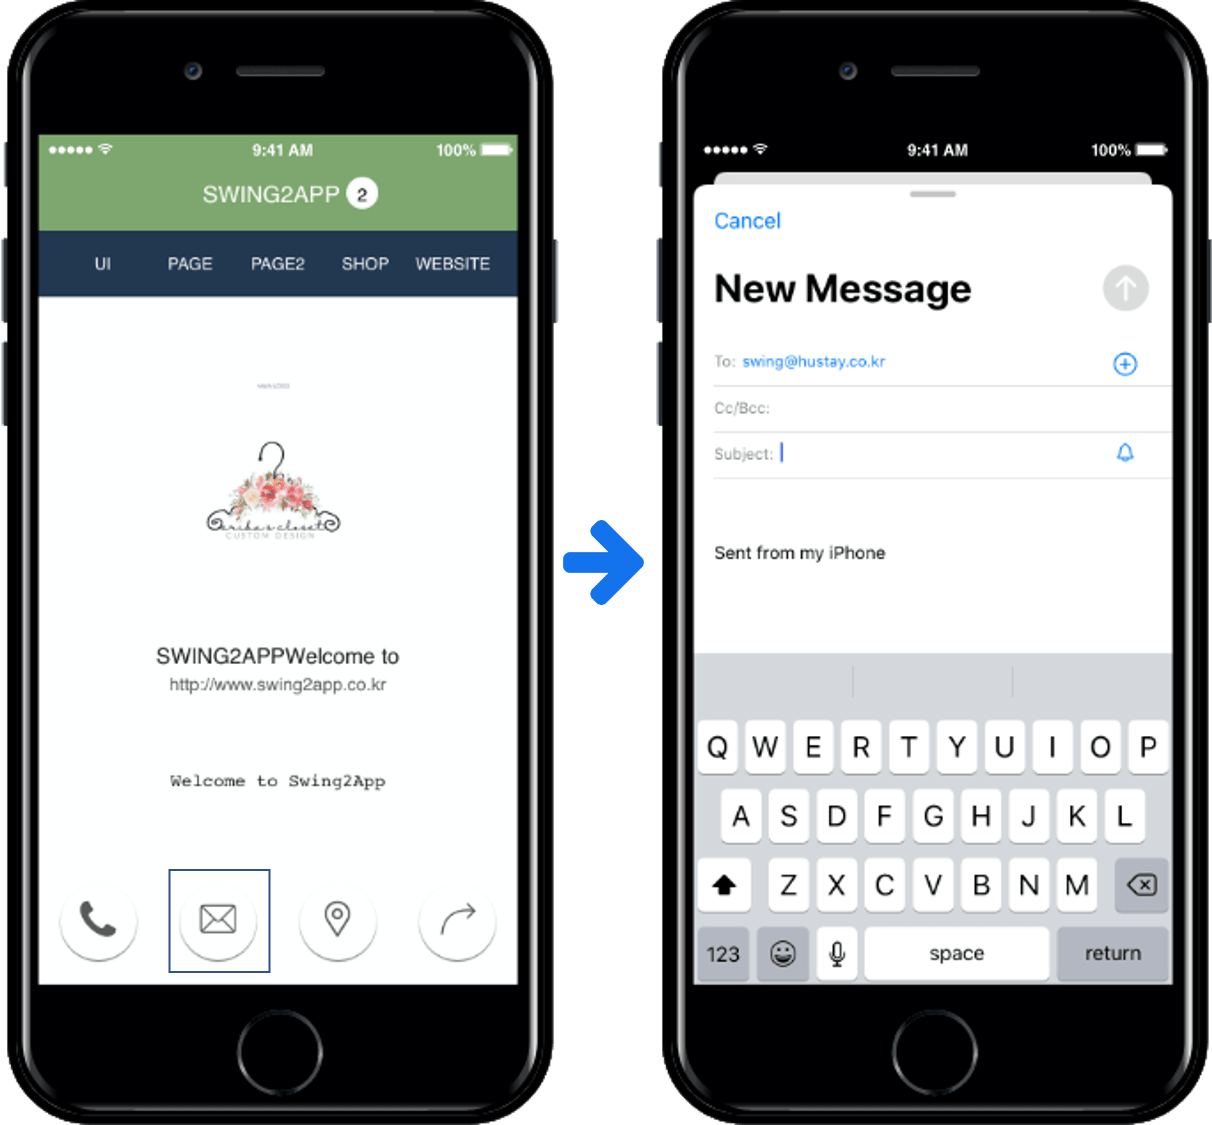
\
**If you select the mail button, you will be redirected to the email address you entered.**
**3) Map-Location**
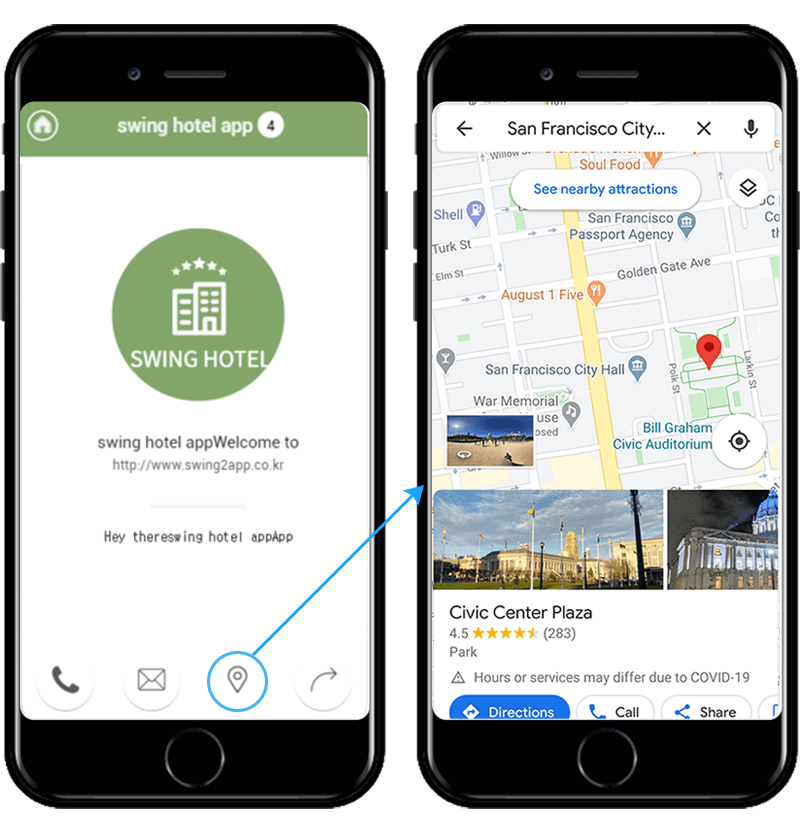
**When you select the Map button, the next – map site opens, and the map and location are shown at the address you entered in settings.**\\
**4) Share**
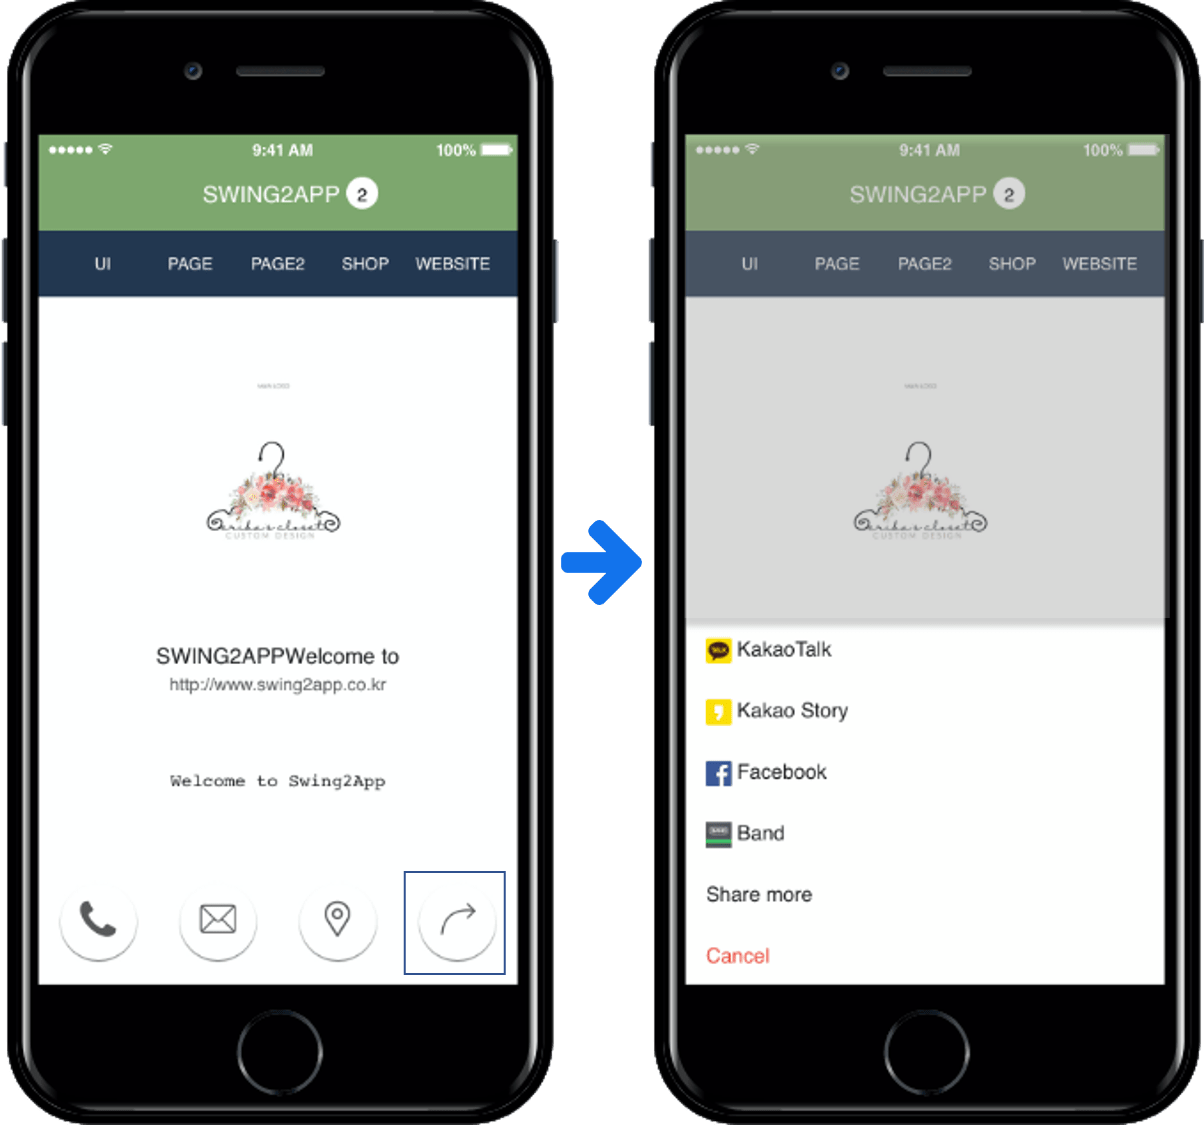
Selecting the Share button opens a window where you can share the app with various applications.