> For the complete documentation index, see [llms.txt](https://documentation.swing2app.com/llms.txt). Markdown versions of documentation pages are available by appending `.md` to page URLs; this page is available as [Markdown](https://documentation.swing2app.com/manual/appmanage/board/post-options.md).
# Set post detail options
Among the bulletin board features – how to set the post detail options.
When using the bulletin board, you can set the options for each bulletin board.
You can set various options such as registration date, registrant name, and sharing button display.
Depending on the purpose of using the bulletin board, you can select various options and apply them to the app.
***
▶ **Bulletin Board-Post Detailed Options**
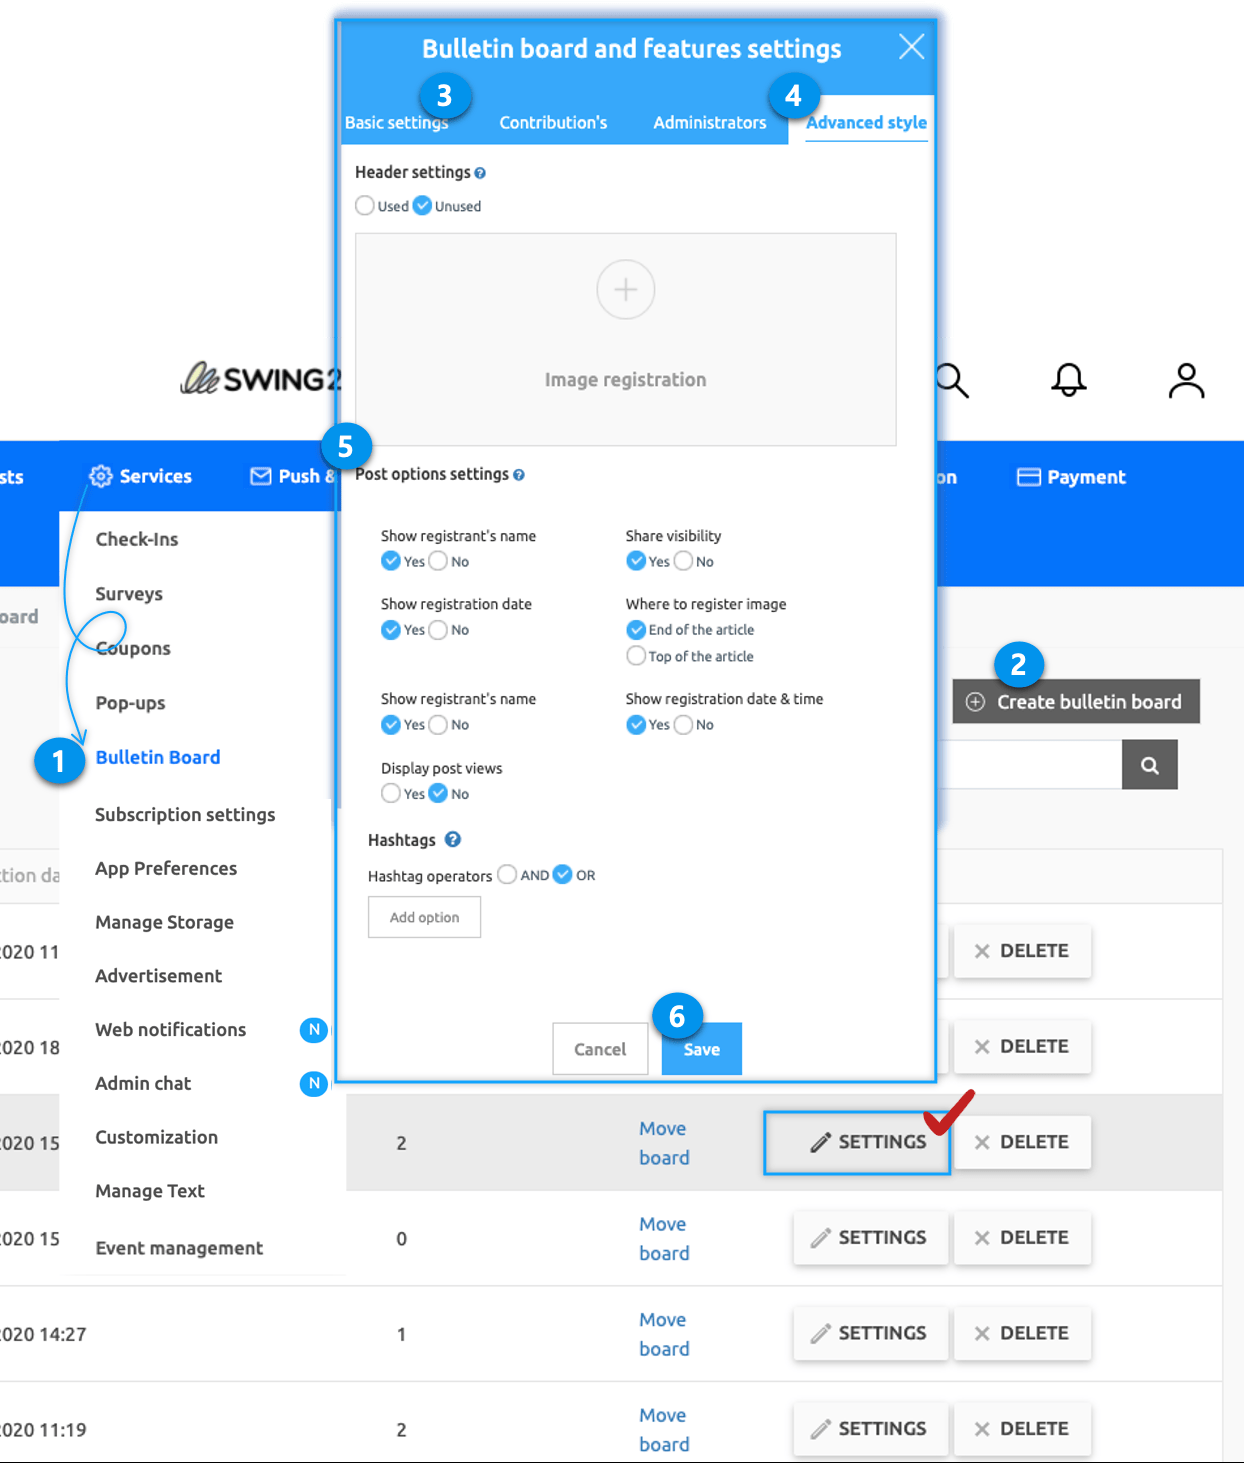
1. Go to **Manager** and select **Services.** Click on **Bulletin Board** from the list.
2. Click on **Create Bulletin Board** to create a new board otherwise click on **Settings** to edit the existing Bulletin board.
3. Select **Basic Settings** and fill in the basic details in **Bulletin Board and features settings.**
4. Select the **Advanced Style** tab.
5. Select **Post options settings** as per the requirement.
6. Click on **Save.**

There are a total of seven post option settings.
Please refer to the image below for more details on the app launch screen.
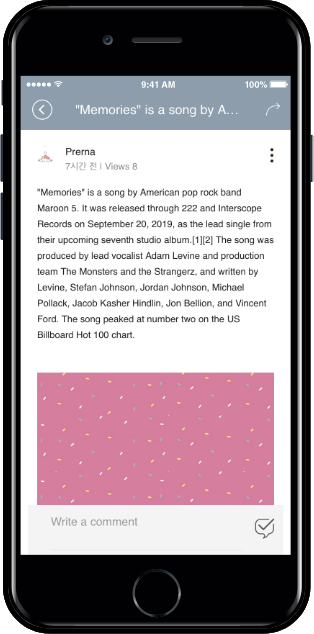
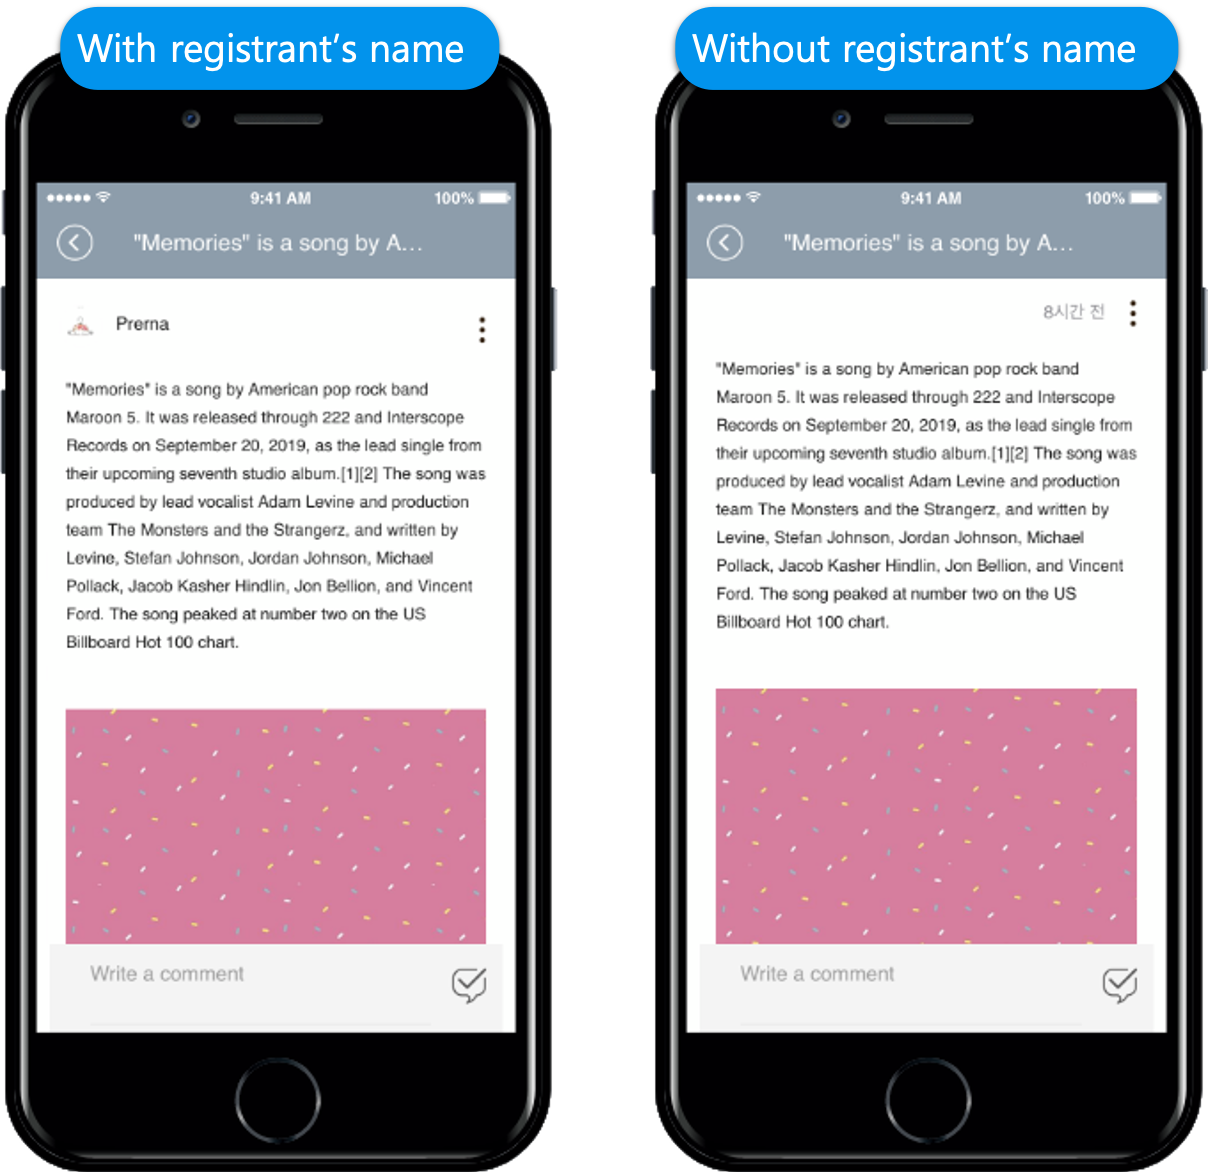
### **1. Post Details – Show registrant name**
**You can set whether or not you want to see the registrant name that appears on the post detail page.**
If it’s a bulletin board where several users write together, you should display the registrant’s name.
If it’s a notice board where only one administrator writes, you don’t have to display the registrant’s name.
**\*Default setting: Show registrant name**
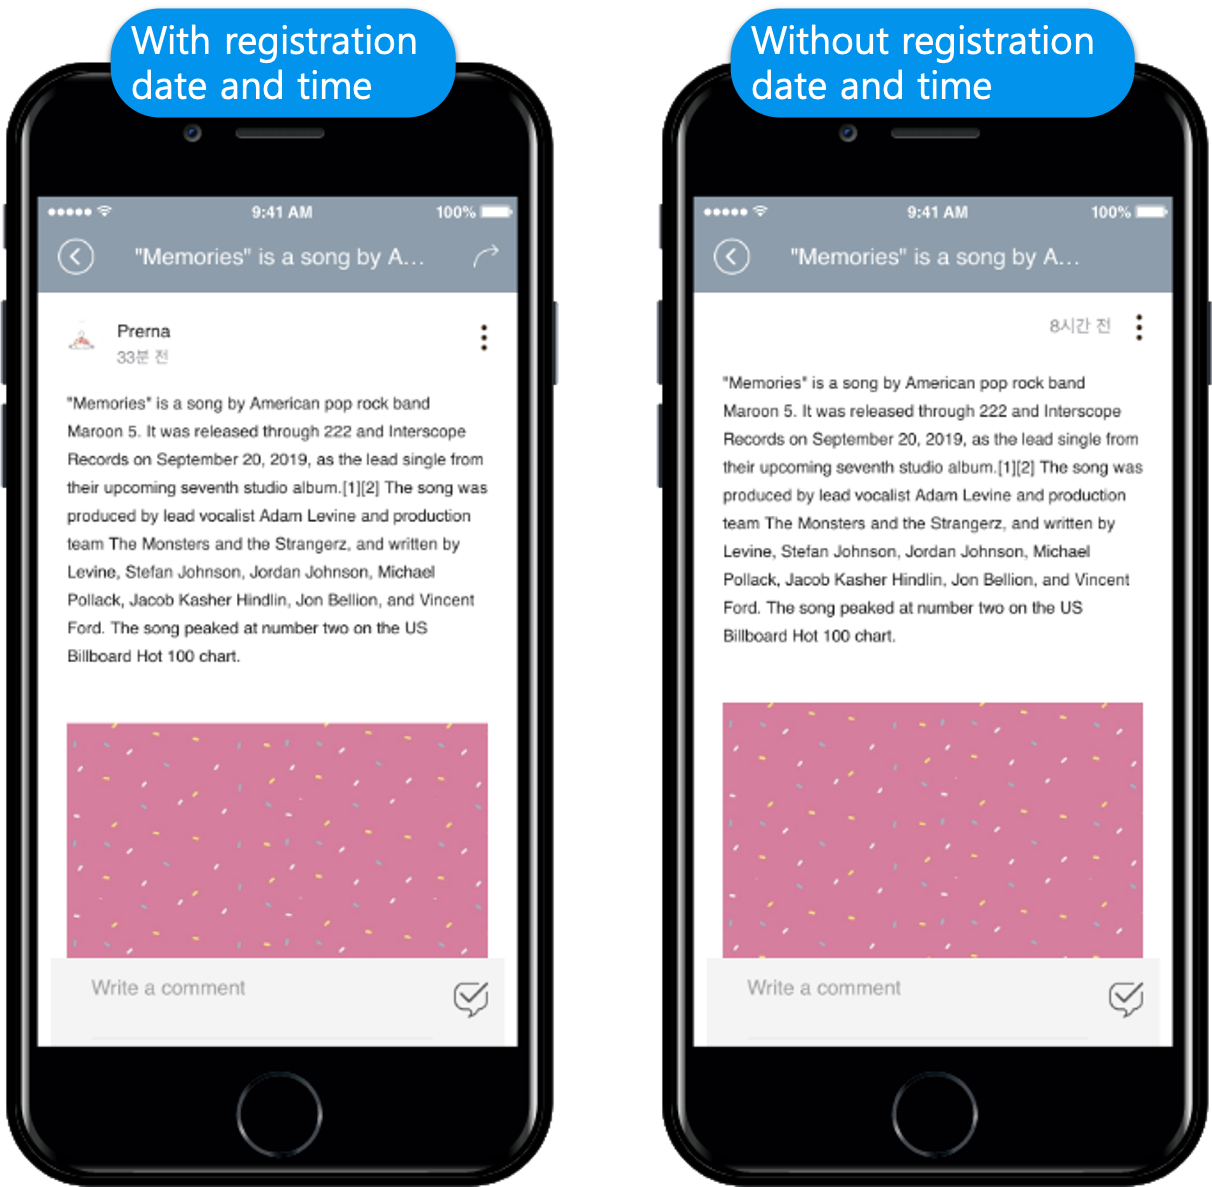
### **2. Post details – Registration date and time**
**You can set whether or not to display the registration date and time displayed on the post details page.**
Please choose to display the date the post was registered on the details page.
**\*Default setting: Registration date display**
***
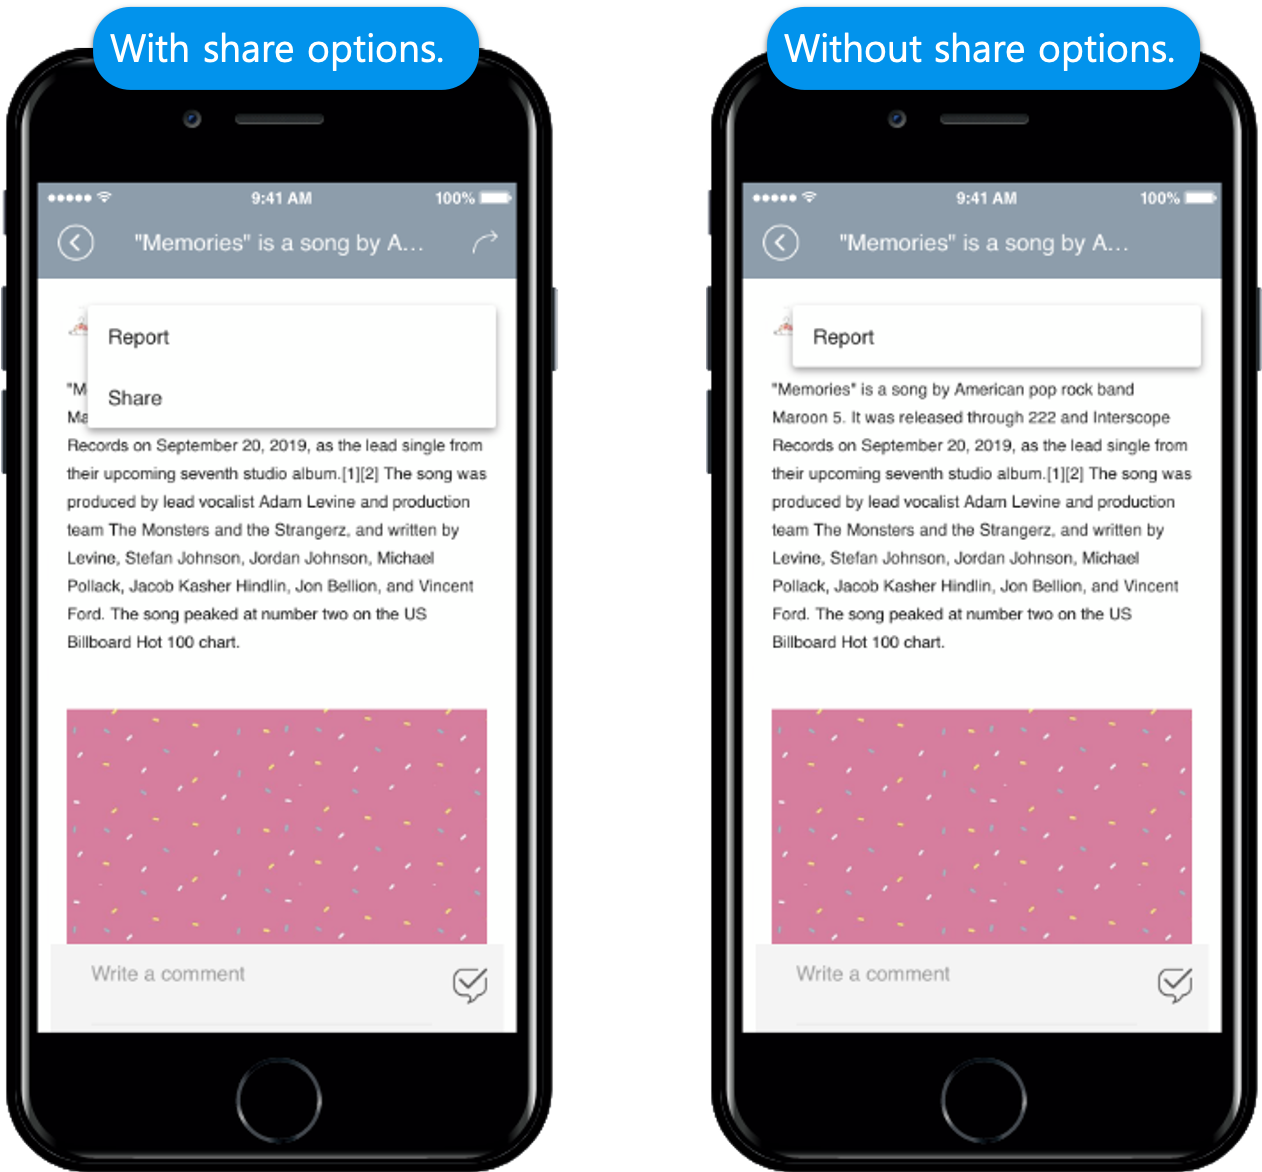
### **3. Post Details – Display share button**
**You can choose whether or not to display the share button that appears on the post details page.**
If you display the share button, you will see a share icon (arrow) at the top right of the screen.
If you don’t display it, there’s no Share button at the top.
**\*Default setting: Share button displayed**
***
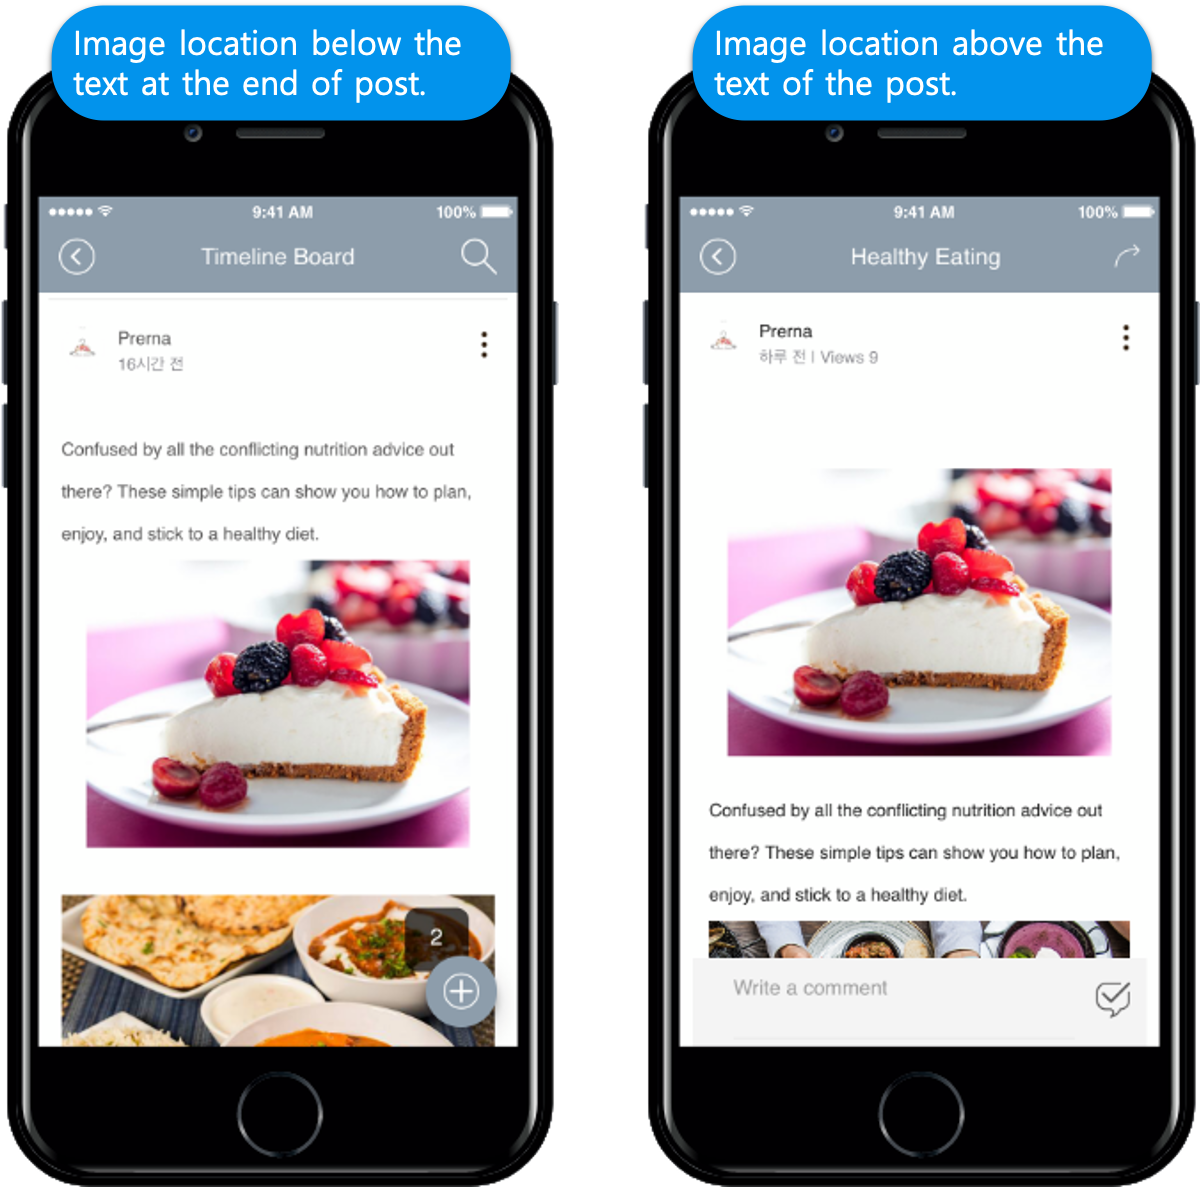
### **4. Post Details – Attached image registration location**
**You can set the location of the attached image on the post detail page at the bottom of the post or the top of the post.**
The attached image refers to the image you register when you create a post.
If you want the attached image to appear first in the post, select “Top of text”.
The image will be exposed first, and the posts will appear down.
**\*Default setting: Show attached image as ‘Bottom’**
***
### **5. Post List – Show registrant name**
**You can set whether to display the registrant name on the post list page.**
Like the first setting item introduced, you can choose whether or not to display the subscriber’s name.
**You can set whether to display the subscriber’s name shown on the post list page and not on the post detail page.**
**\*Default setting: Registrant name is displayed**

***
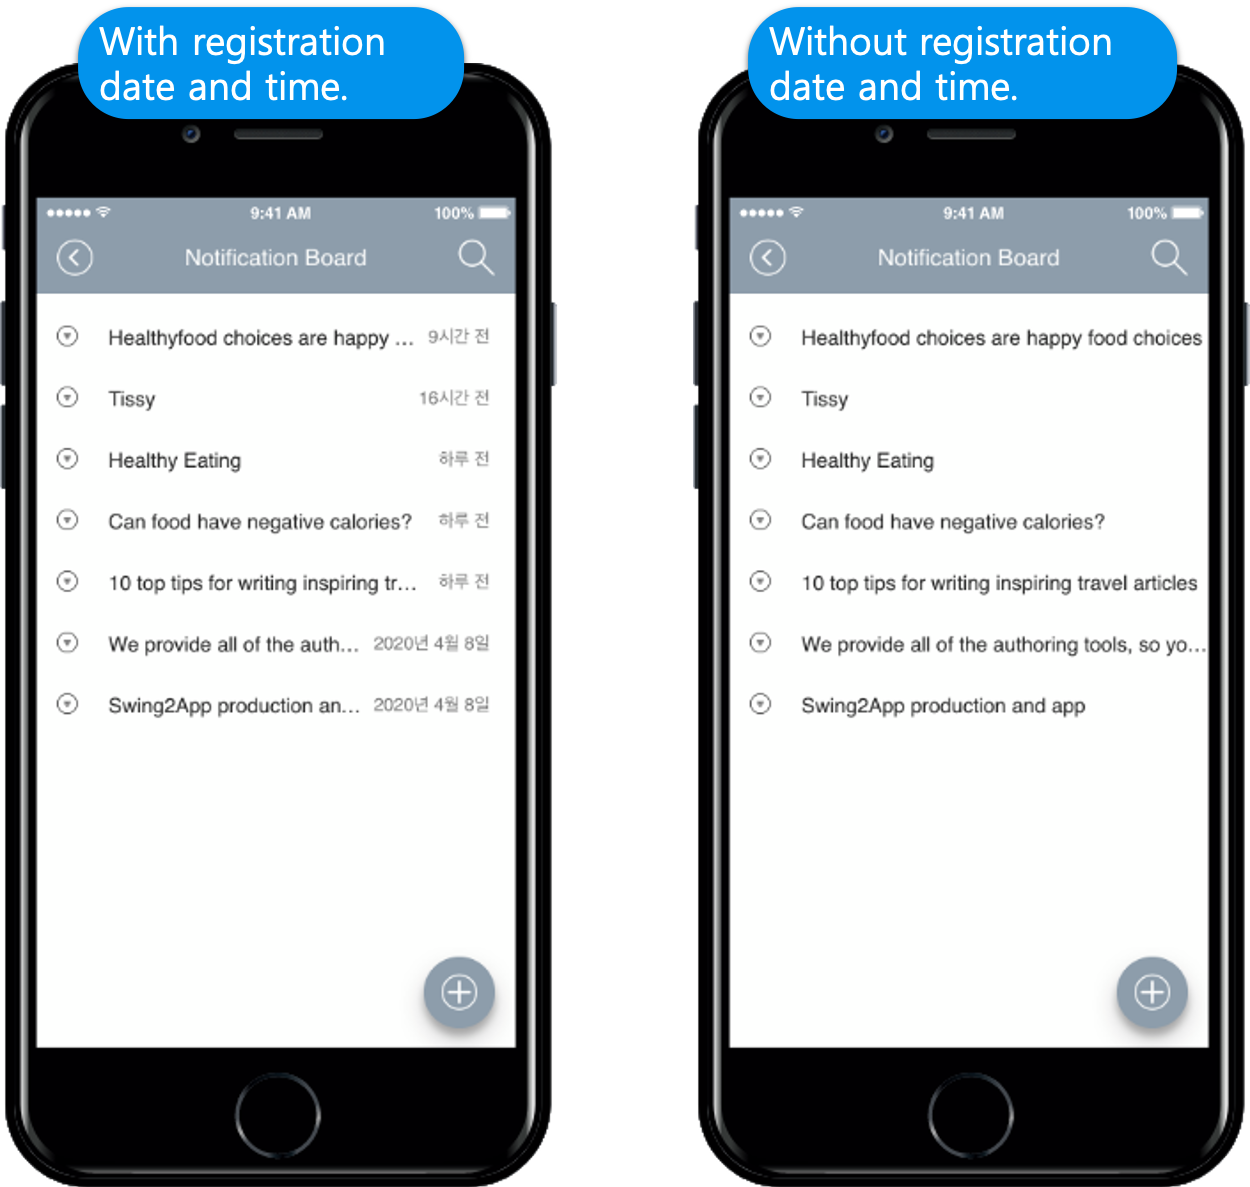
### **6. List of posts – registration date and time**
**You can set the registration date and time displayed on the post list page.**
Like the second setting item introduced, you can choose whether or not to display the registration date and time.
**You can set the registration date and time displayed on the post list page, and not on the post details page.**
If the post-registration date doesn’t make sense in the list, check Unchecked.
**\*Default setting: Shows registration date and time**
***
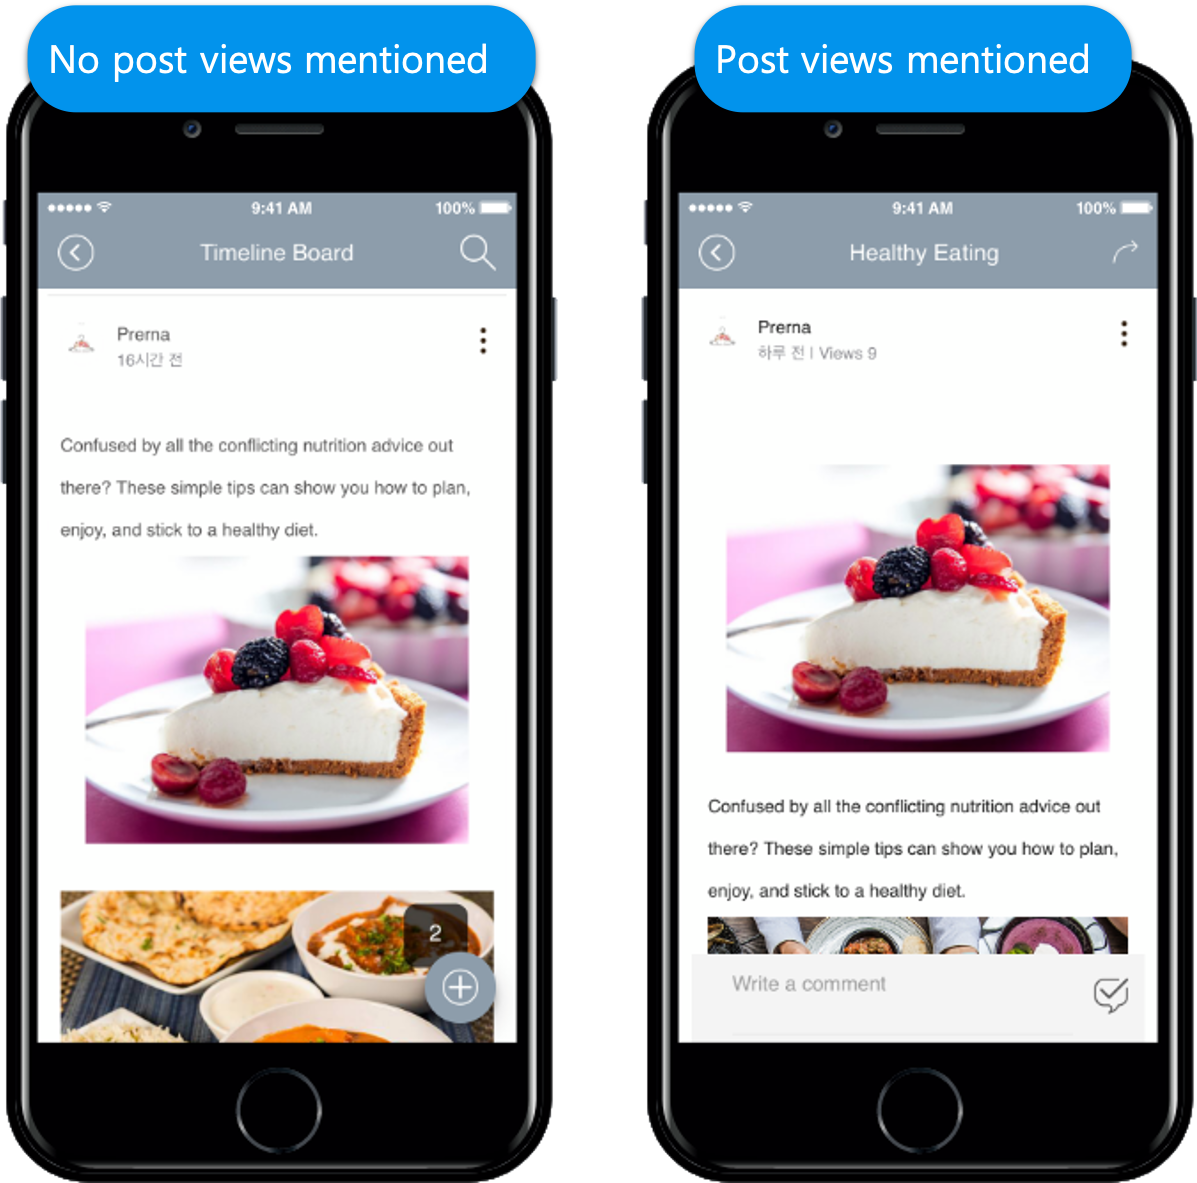
### **7. Post Details – Whether to display post views**
**You can set the number of post views displayed on the post detail page.**
**Views show you how many people have read your posts.**
**The default setting is to prevent the view of posts.**
If it is a bulletin board that needs to show the number of posts, you can set it by checking the display count.
**\*Default setting: No views**
\*The app manager can check the number of post views on the Swing2App **Manager** page.
You can see all of the views for each post on the Manager> Posts (Selecting the Board you wish to see the Views)
The number of views varies depending on the date and time of registration and whether the name of the registrant is displayed.
### **8.** Post sort order - descending, ascending

**\*Descending: Sorted by newest**
**\*Ascending: Sorted by oldest posts.**
The default setting is set to 'descending', so you can change it if you use it in ascending order.
If no option is set, the default settings will be applied.
You can edit the creation date to make it invisible for your convenience, or to make only the registered person’s name invisible.