> For the complete documentation index, see [llms.txt](https://documentation.swing2app.com/llms.txt). Markdown versions of documentation pages are available by appending `.md` to page URLs; this page is available as [Markdown](https://documentation.swing2app.com/manual/appmanage/pushmember/appmaster.md).
# Setting up an App Administrator

**How to set up an app administrator group**
The creators of the app can think of it as an app they created, so they have admin rights.
At this time, you don’t have to be an administrator to create an app.
After signing up in the app, you need to change the ID to ‘admin’.
**Check how to change the group to ‘Administrator’ through the member group setting in the Swing2App manual.**
**▶How to set up an App Administrator**
1\. Please register first in the app.
2\. From the Swing2App homepage → Manager → Push & Member → Member inquiry page.
3\. On the member inquiry page, select the member you want to change as an administrator → From ‘User’ of the current group information → Select ‘Administrator’.
Select the \[Change Group] button.
When you finish making changes, you’re done changing your administrator level.
**▶The default administrator settings are the same as this method.**
In addition to app administrators, you can also set up a “vice administrator” that allows you to have multiple administrators.
The sub-administrator setting is the same as the administrator setting. Please check the post below on how to use it.
**☞** [**Click here to view how to set up an associate administrator**](/manual/appmanage/pushmember/associate-administrator.md)
### **STEP.1 Sign up for the app**
After launching the app, please register on the registration menu.
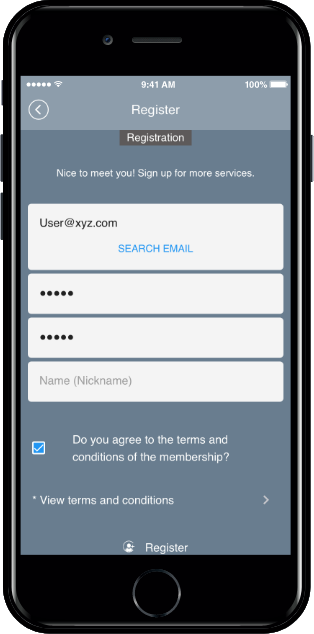
**\* Membership is set by default when creating an app, but if you delete the menu, please apply the menu again from the App Production Page – Page menu.**


**▶ Member Registration Complete: User Rating**
Once you have registered,
Let’s change that rating to ‘Admin’.
### **STEP.2 App Operations Dashboard – Changing Administrator Level**
1. Go to **Manager.**
2. Select **Push & Members.**
3. Click **Member Views.**
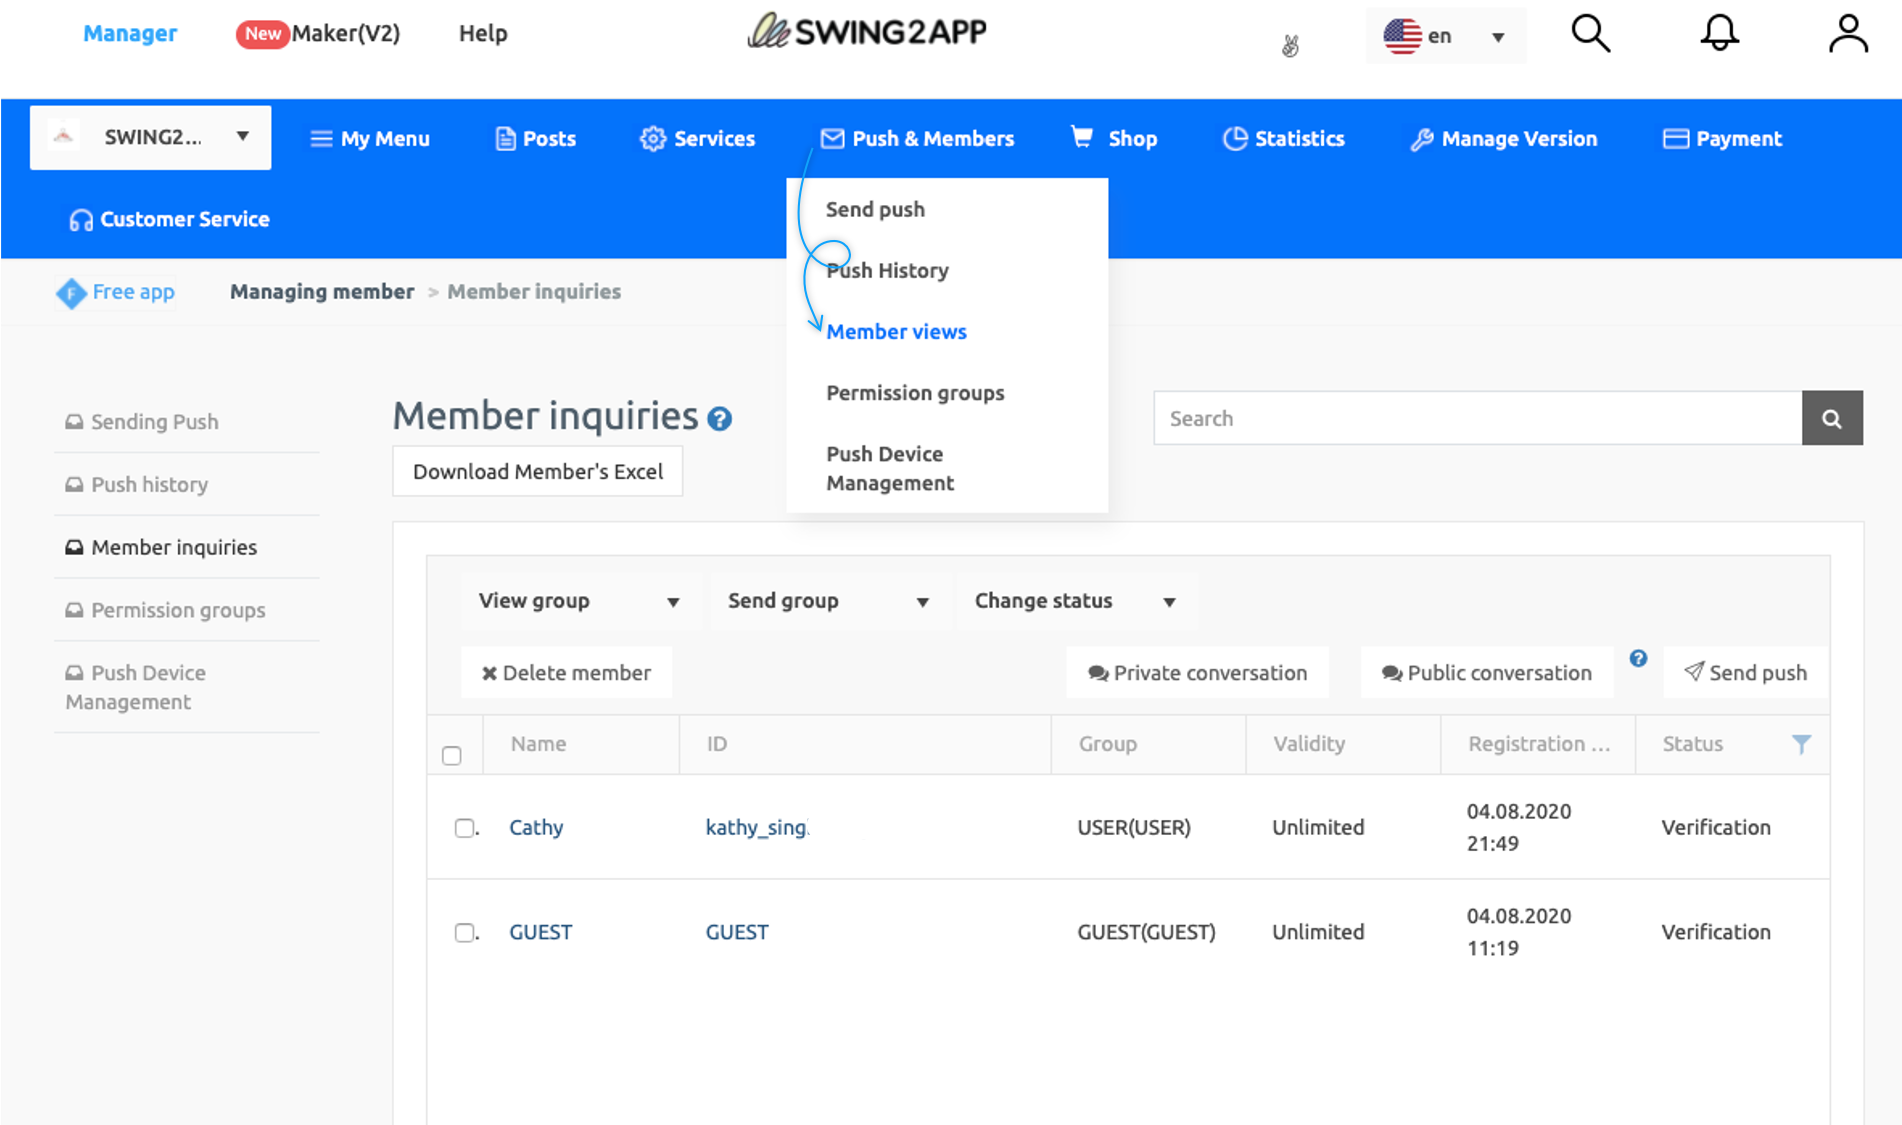
On the member inquiry page, you can see a list of all the members who have registered in the app.
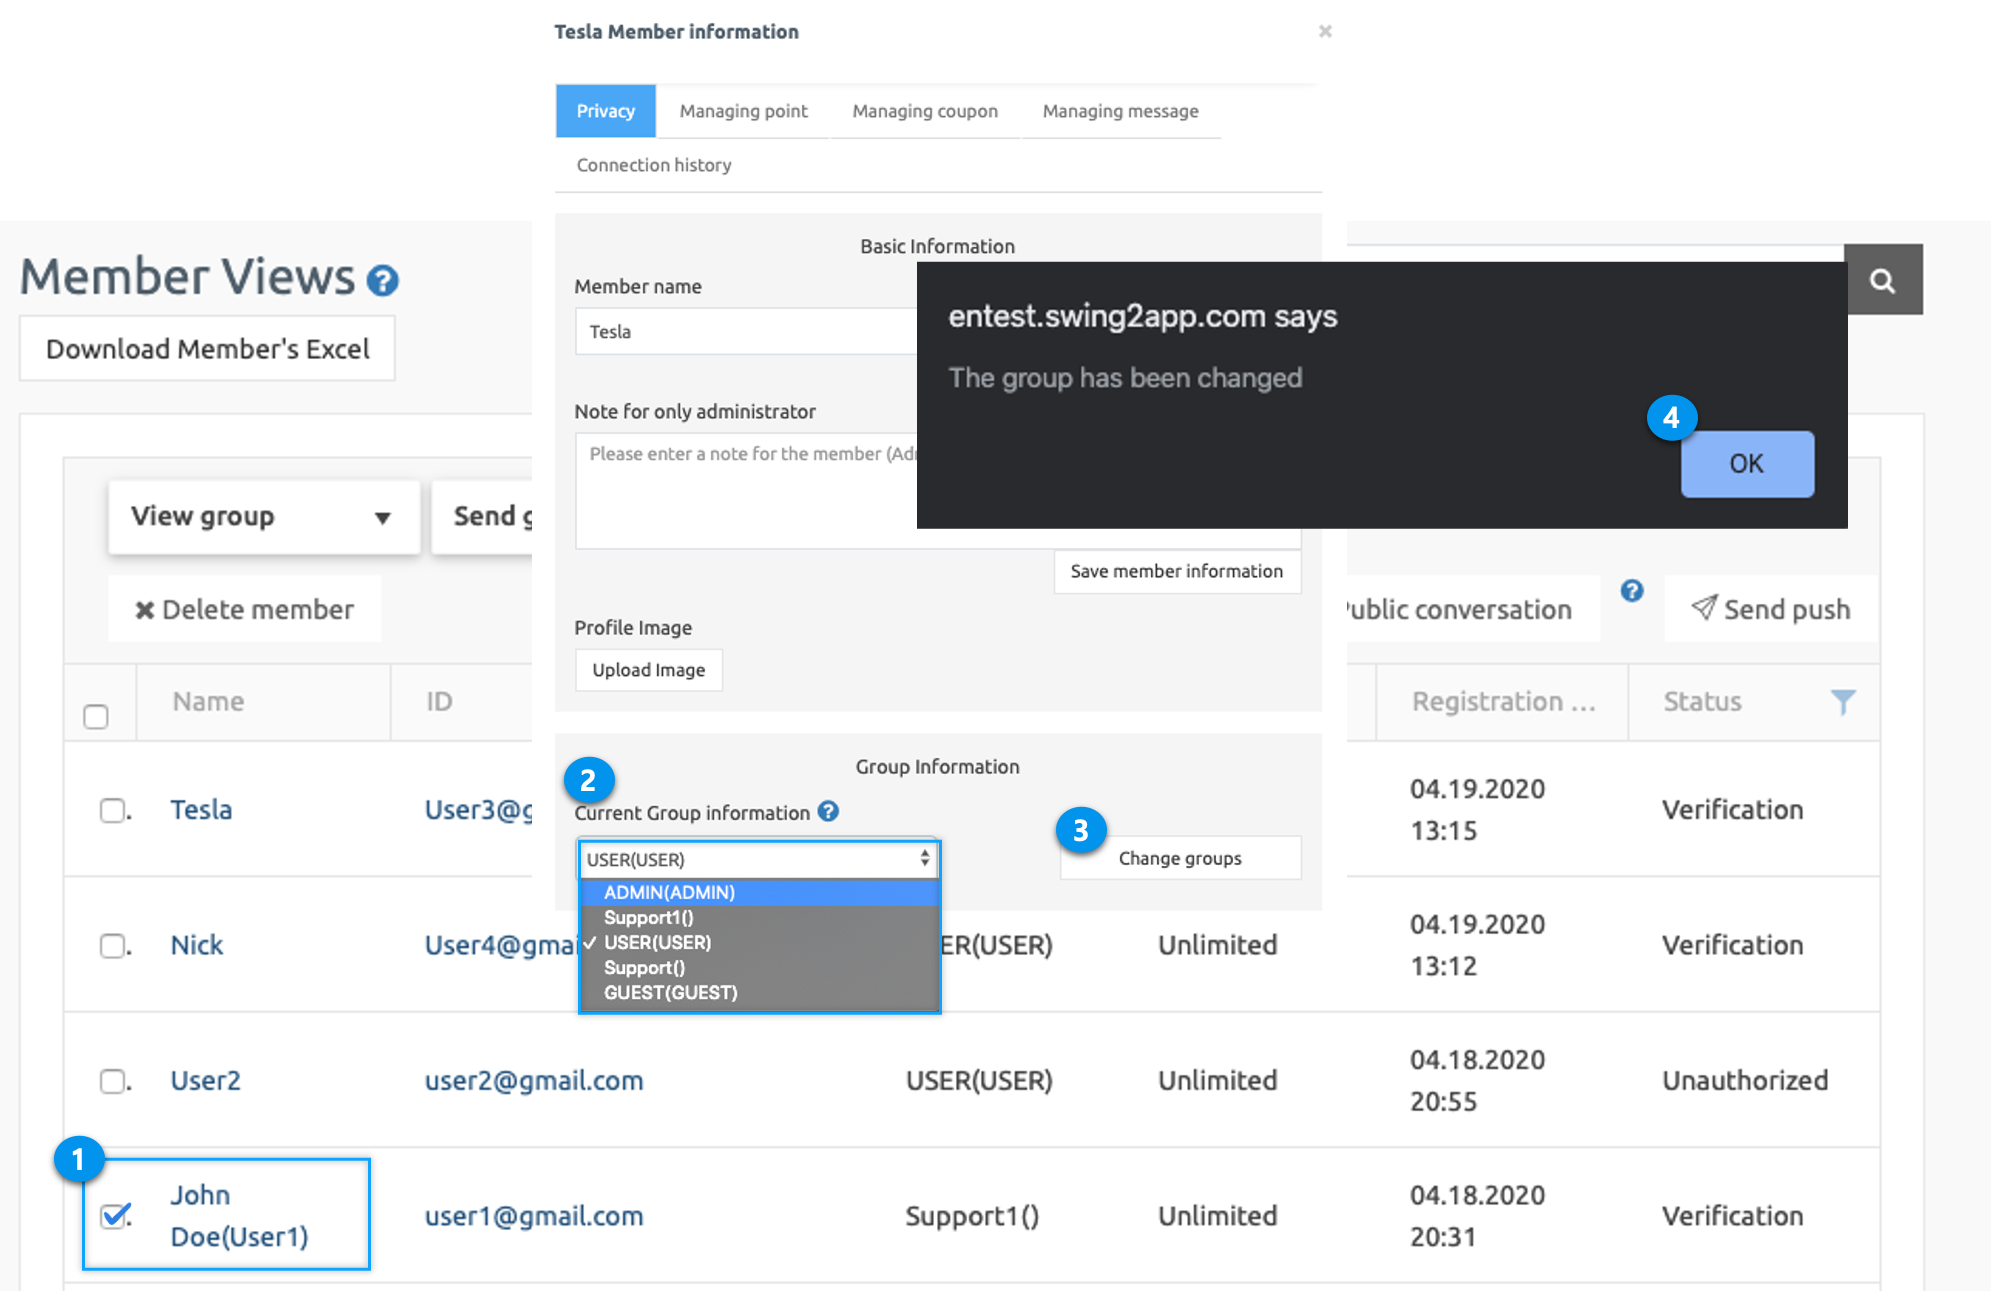
1\) Please select the ‘admin’ user just registered in the app.
2\) Press the **Current Group Information** button in the member information window – and select **Admin**.
3\) Select the **Change Group** button and you are done!
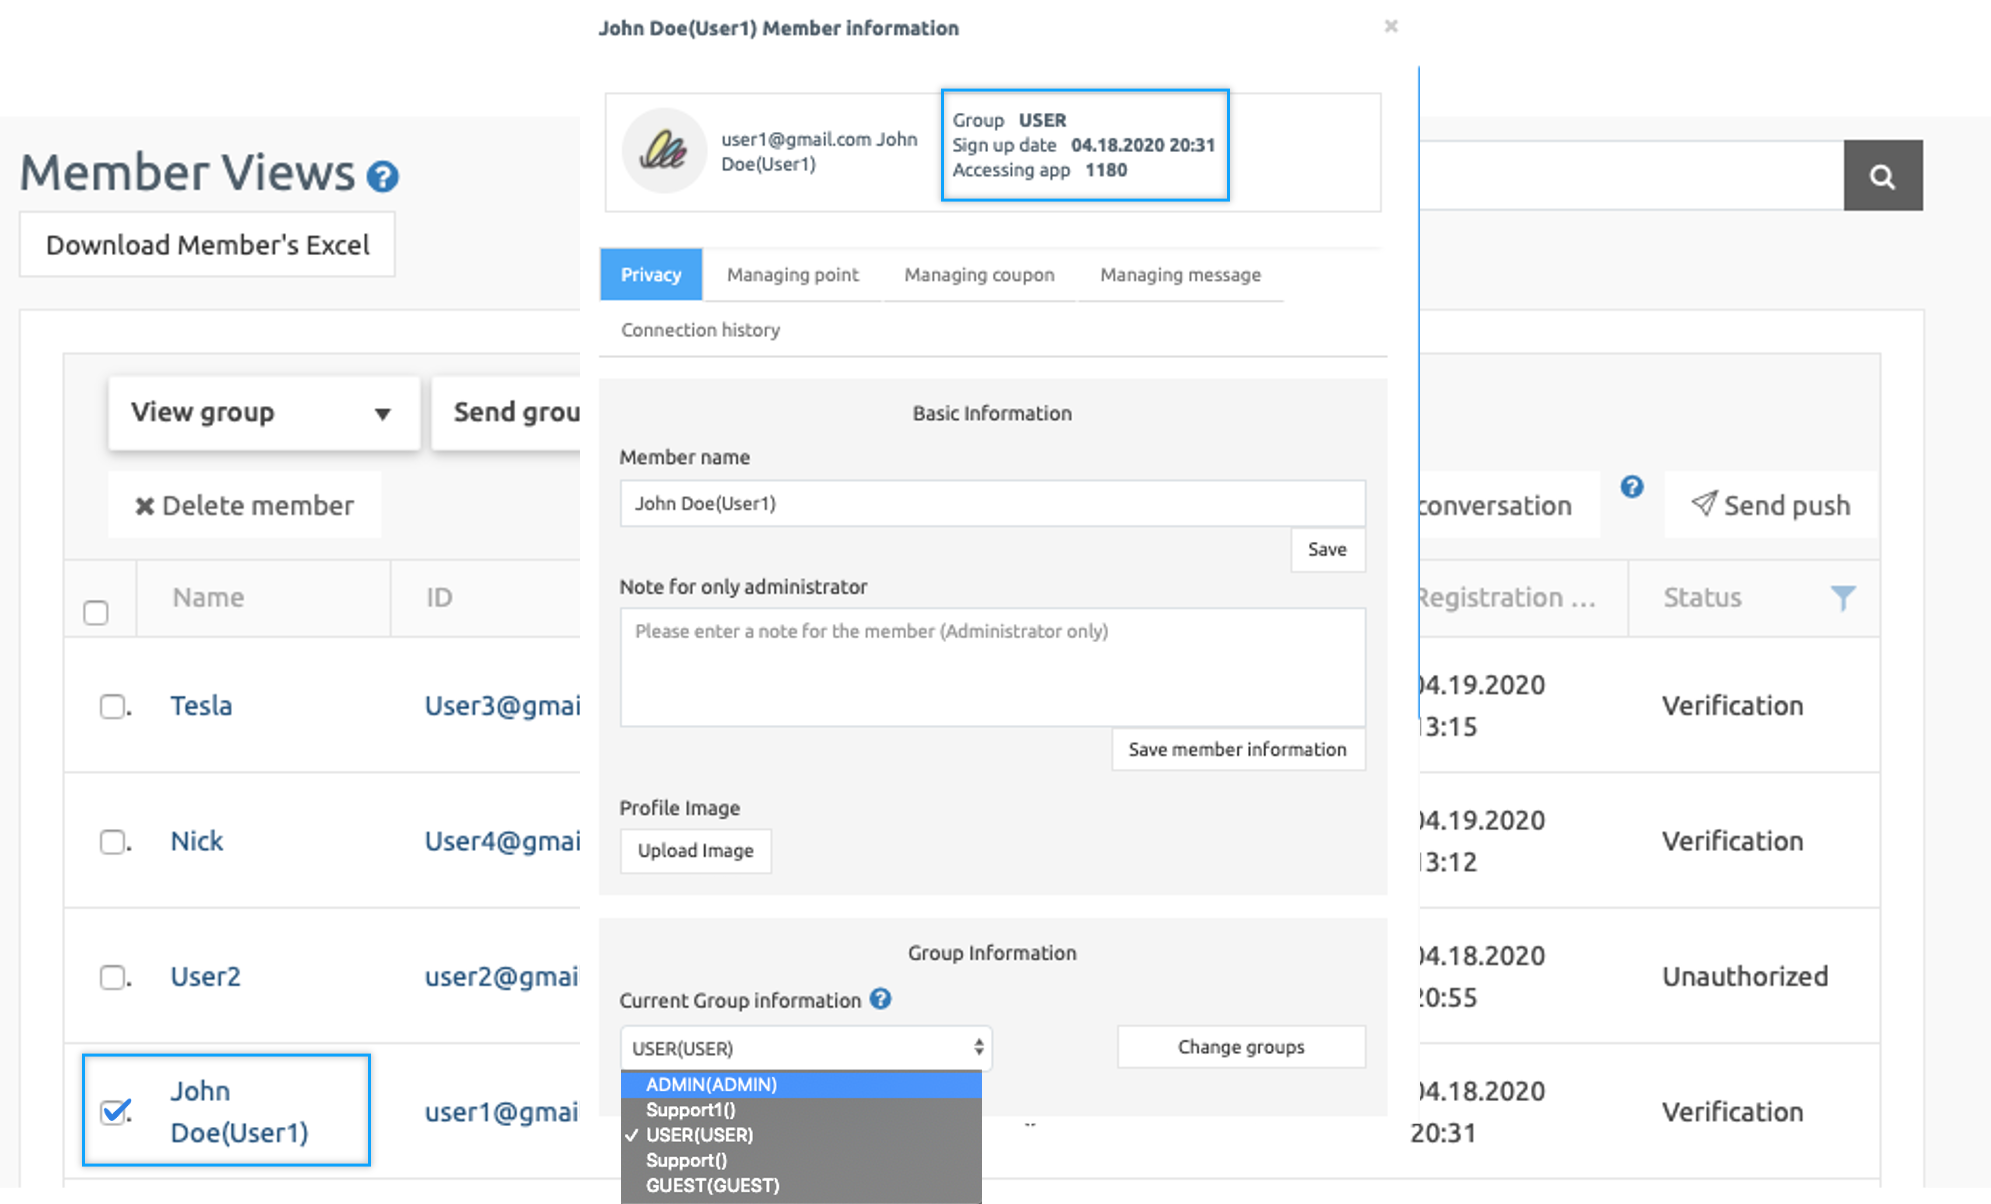
Is changing the group simple?
In the image above, you will see various groups in the current group information.
(That is a group created at random, usually groups are represented by user, administrator, and guest ratings)
When creating an app, you can add groups and permissions.
Please check the link below to learn how to add permissions and create new groups.
**▶** [**View how to create group and permission ratings**](/manual/appmanage/pushmember/member-group.md)
**\[ Group change completed]**
1. Please select the ‘admin’ user just registered in the app.
2. Press the **Current Group Information** button in the member information window – and select **Admin**.
3. Select the **Change Group** button.
4. Click the **OK** button in the group change complete message window.
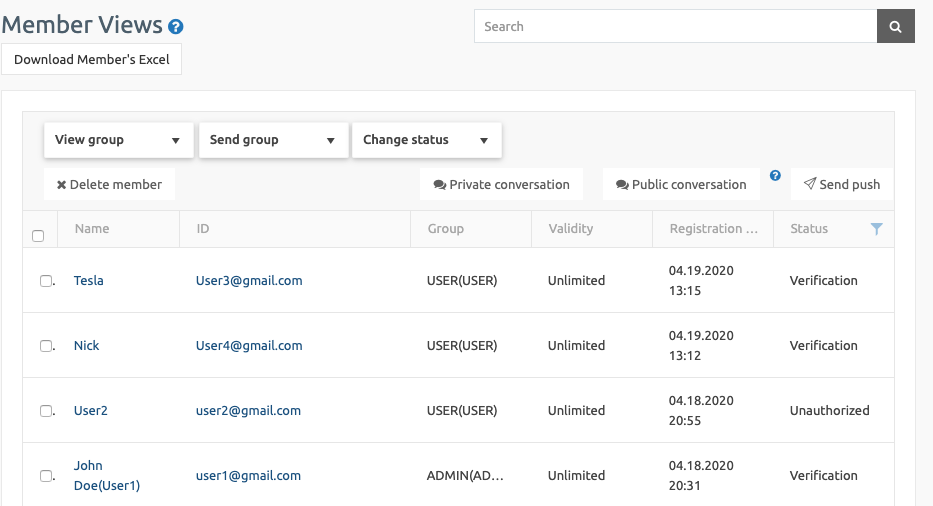
If you look at the member inquiry list page after the change is completed, you can see that **the former user level has been changed to ‘admin’.**
****
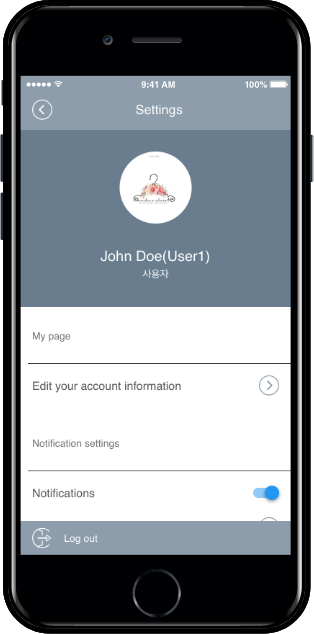
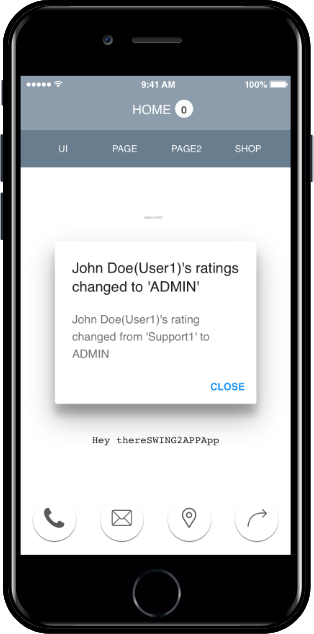
### **3. App launch screen: Check the changed rating**
When a rating changes, the app automatically sends a push notification that the rating has changed.
If you go back to the Settings menu, you will see that a member who was a user has been changed to an Administrator.
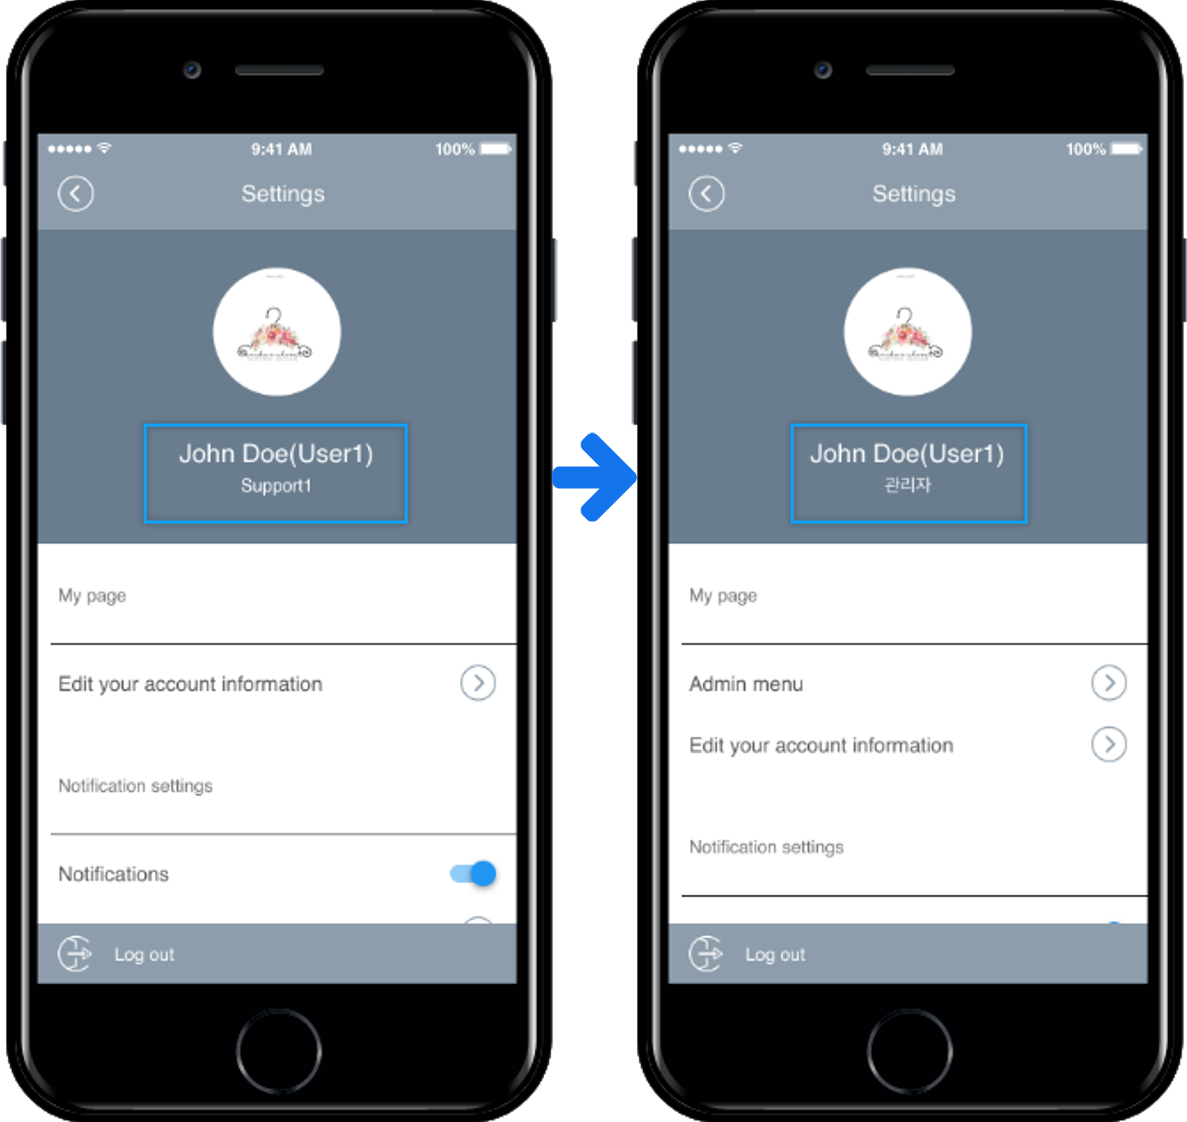
**\*Please exit the app completely and run it again to see the changed rating.**
The rating change is completed as an app administrator, and the app can be operated as an administrator.
**The app administrator provided in the free app production swing2app is a master who can manage and operate the apps you created.**
After signing up in the app, you need to change your status to “Admin” before you can use it as an app administrator.
**\*Users who create the app must also change their status to “Admin” after signing up within the app they created to have admin rights to manage the app.**
**Therefore, please check the above methods and use them as app administrator.**